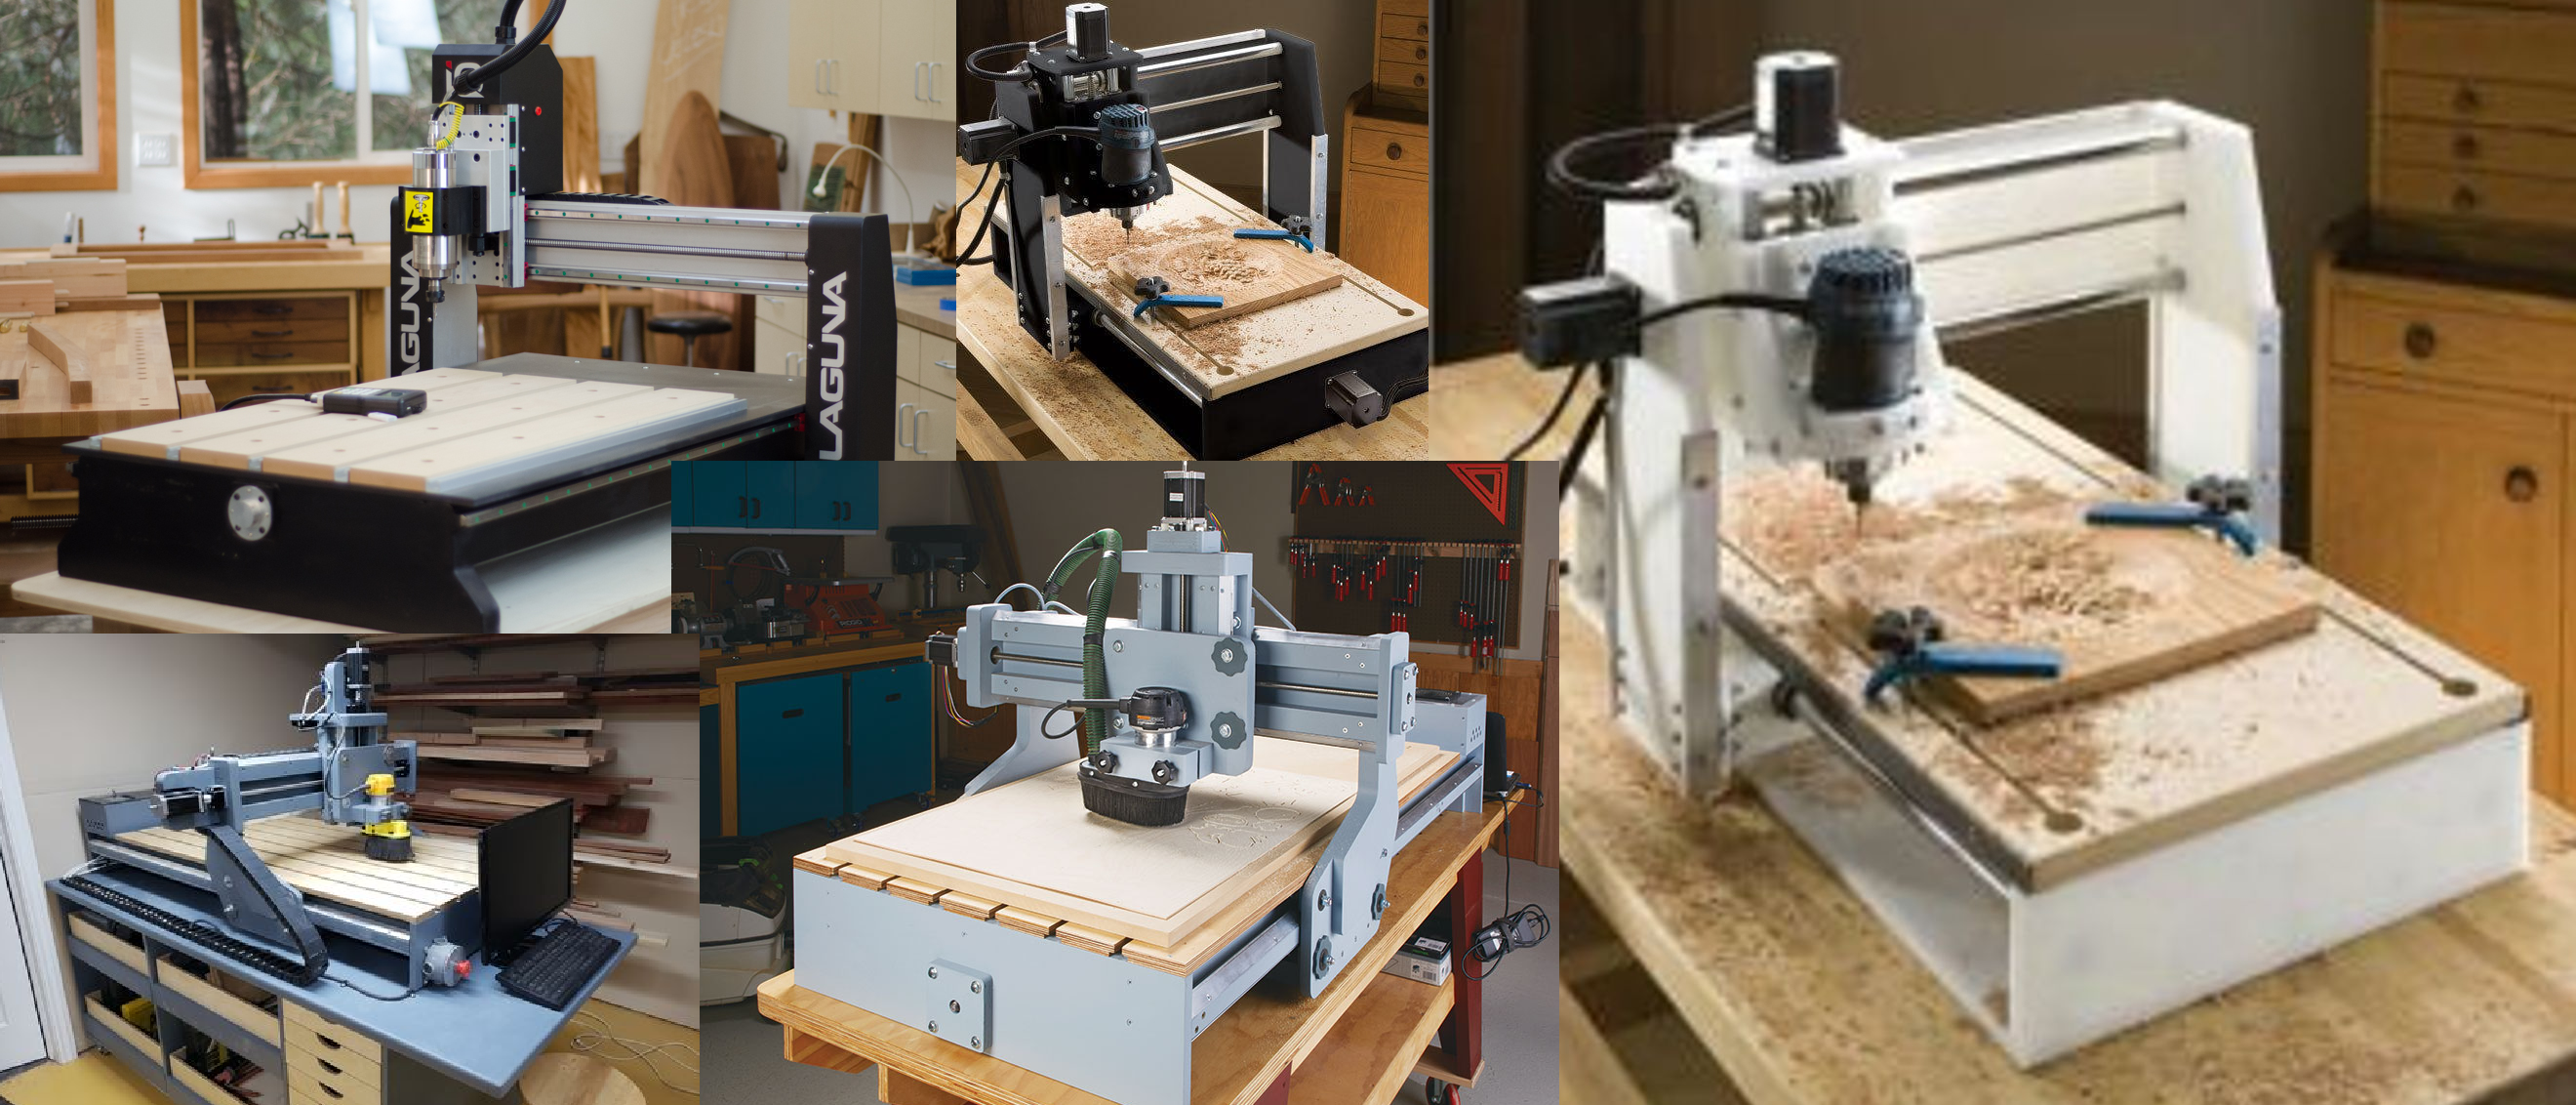
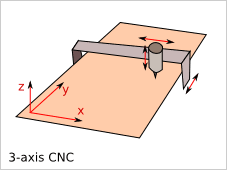
I want to understand how these machines work, what they can do and how to build a hobbyist machine. Something with 3 axis that can do 2D cuts. A lot of my research below is based on CNC Basics - What You Need To Get Started from Product Design Online. There are many use cases such as water-jet and laser cutting but from a cost and simplicity point and my own personal use case I felt a CNC Router is an achievable / realistic goal.
Open Source Machines
These are two open source CNC Machines which I think are fantastic starting points.
- CNC Machine Scratch Build (IndyMill by Nikodem Bartnik)
- CNC Machine Scratch Build (Wood Frame by Gokmen Altuntas)
CNC workflows
CNC workflows can grouped as follows:
| Computer Aided Design (CAD) | Computer Aided Manufacturing (CAM) | Computer Numerical Control (CNC) |
|---|---|---|
| Design your item on the computer | Create instructions how to carve the item | Pass instructions via a digital interface to the machine |
| 2D File | Material | G-Code |
| 2.5D File | Tool | Control Box |
| 3D File | Speeds & Feeds | |
| Toolpath |
Computer Aided Design (CAD)
Software to design your item on the computer. Often the for personal / hobby use these are free with basic functionality.
Some like Fusion 360 combine CAD and CAM features and Product Design Online have MANY Fusion tutorials.
- Autodesk Fusion 360 | RC CAD-2-VR Fusion 360 Tutorial
- CAMLab - runs entirely within your browser
- Carbide Create - download and install
- Easel
- Inkscape
- Adobe Illustrator
- Solid Works 2010
Cutting strategies
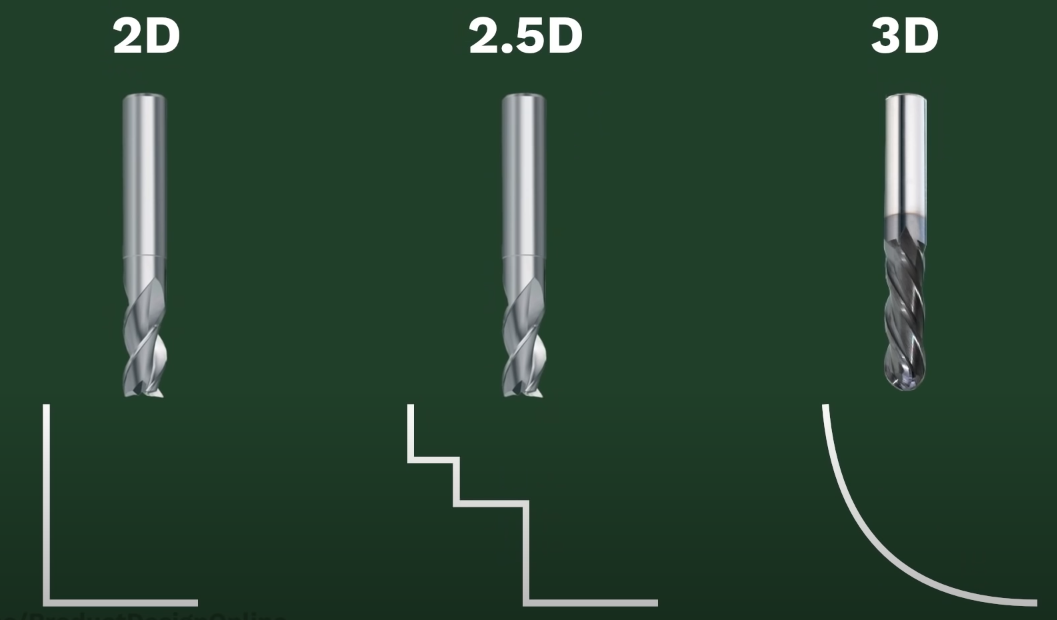
Cuts can be before the line, on the line or past the line.
| 2D | 2.5D | 3D |
|---|---|---|
| The machine will trace an object to cut it out, things like letters and basic shapes. | Simple 2D cut shapes but the machine cuts deeper in certain areas. | The machine will use X,Y and Z axis at the same time. These are for complex projects. |
Computer Aided Manufacturing (CAM)
Using a computer to control a machine that can manufacture things, the flow here would be
- Material: Define the material, this is at a high level the dimensions (width and breadth)
- Tool: The cutting tool must be smaller than the object we are going to cut.
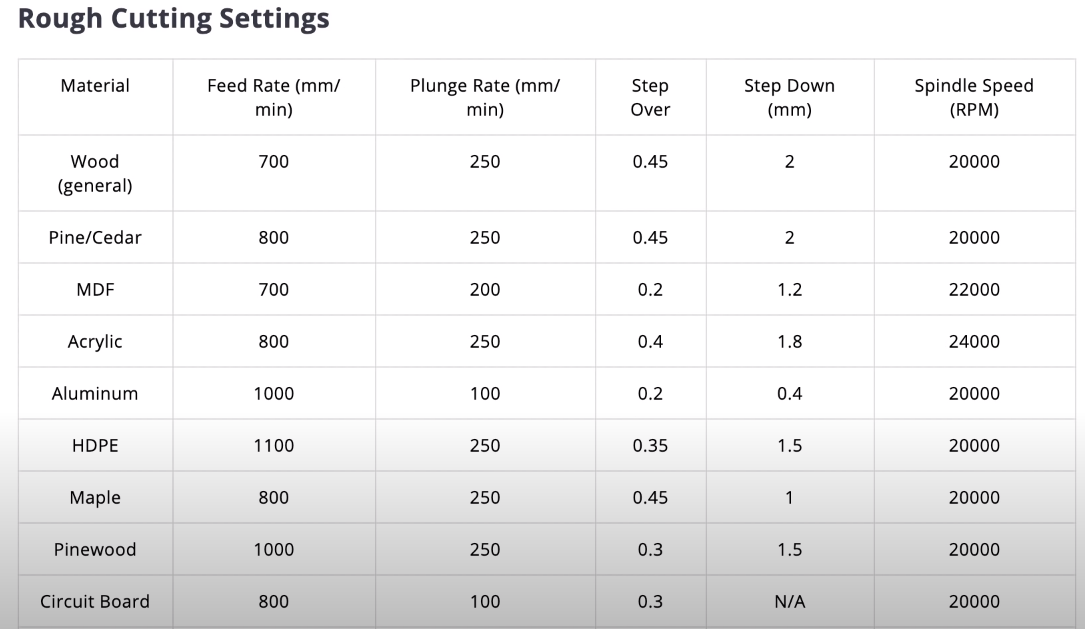
- Speeds & Feeds: Cutting speed is how fast the cutting tool spins in relation to the material. The feed rate is the distance the tool travels during one revolution of the tool.
- Toolpath: The body of instructions, this is where we tell the machine what shape to cut out. (This is the path though space that our cutting tool follows). CAM software can simulate the cut before sending it to the machine.
At step 3 above we can just use the ideal numbers from an online cheat sheet:
Computer Numerical Control (CNC)
At a high level the physical machine flow would be
- Stap down material (clamps, double sided tape or vacuum)
- Place appropriate bit in collet, this needs to be the same as what was defined in the CAM software.
- Place machine in starting position, this is manual with a hobbyist machine.
- Set speed of router and turn it on (this would be manual for a hobbyist machine)
- Hit Run/Play and the machine will start to cut.
Before we get to that we would need to:
- We need to export the instructions to a langauge the machine can understand. This is nomally G-Code (Geometric Code).
- G-Code simply tells the machine where to travel to.
- The toolpaths would dictate what the software includes in the G-Code.
“G-codes, also called preparatory codes, are any word in a CNC program that begins with the letter G. Generally it is a code telling the machine tool what type of action to perform, such as: Rapid movement (transport the tool as quickly as possible in between cuts) Controlled feed in a straight line or arc.”
- What is G-Code? – Haas Automation Tip of the Day
- https://listoffreeware.com/free-image-to-gcode-converter-software-windows/
A shopping list of these parts are at the bottom of this post.
Micro Controller
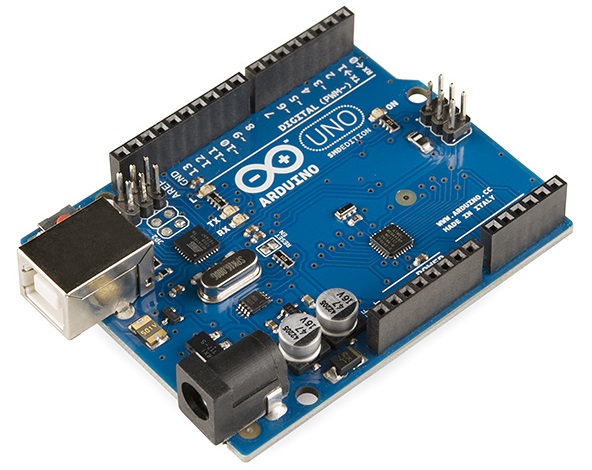
A post processor for GRBL will take the G-Code as an input, these are some controllers that can be used:
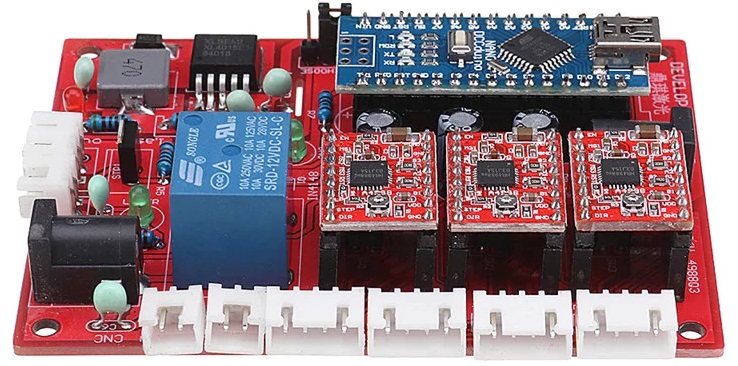
Arduino Uno- cheap, simple and comes with some driver kits.Original 3018 CNC Control Board- little more expensive option.
“GRBL is an open source software or firmware which enables motion control for CNC machines.”
“GRBL is a firmware for arduino boards(uno,nano,Duemillanove) that controls stepper motors and spindles/lasers. GRBL uses gcode as input and outputs signals via the arduino pins. Most industrial cnc machines uses parallel port controller that requires Those big purple connectors.”
Raspberry Pi Controller
All of this is based on Raspberry Pi as a CNC Controller from Make:. The Raspberry Pi would run Universal GCode Sender which was developed by Will Winder. It essentially controls the micro controller which will be an Arduino.
After installing the full raspbian image and setting up the Wifi & SSH the following setup would be needed on the Pi
1 | sudo apt-get install maven |

Drivers
- https://qqtrading.com.my/blog/key-differences-between-the-drv8825-and-a4988
- https://howtomechatronics.com/tutorials/arduino/how-to-control-stepper-motor-with-a4988-driver-and-arduino/
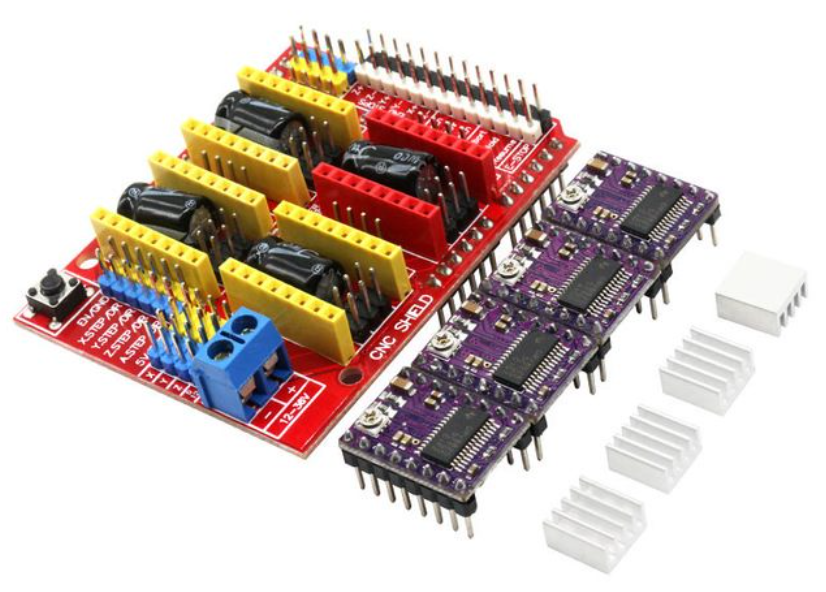
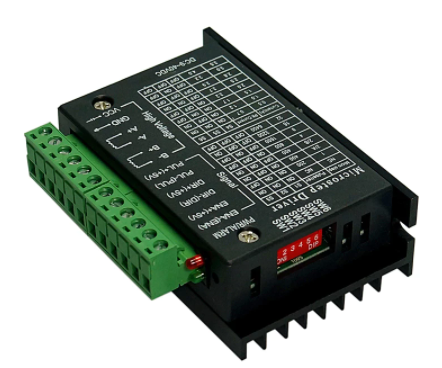
Alternatively you can use drivers like the TB6560 3A. These provide higher amps
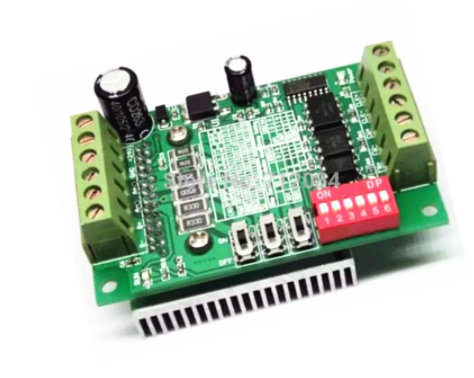
Another alternative is the TB6600, offer 4A and much bigger heatsync.
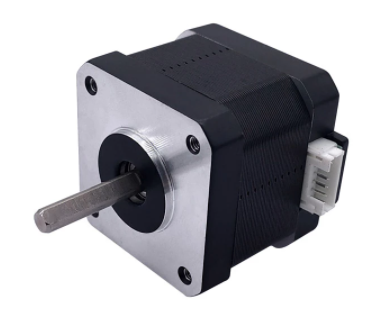
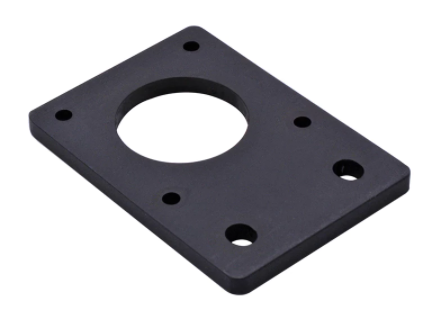
Stepper Motors & Mounting Plate
These have 2 coils to allow them to run backwards or forwards. Atleast 1 is needed for each axis X,Y and Z. An additional motor can be added on A for more power/control. Some machines have this along side their Y - I would guess its for milling harder materials.
Motor sizes: NEMA 17, Nema 23, NEMA 34 (I think 17 is fine for basic use)
Power Supply
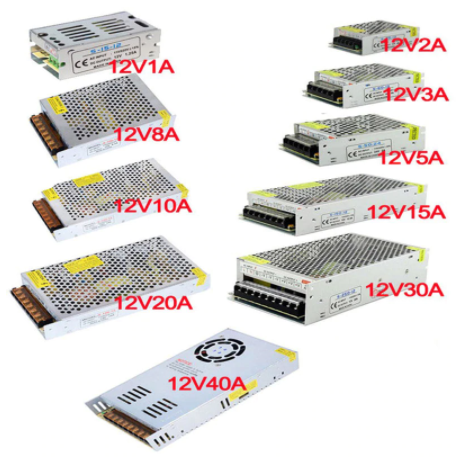
Power Supply 12V 30A
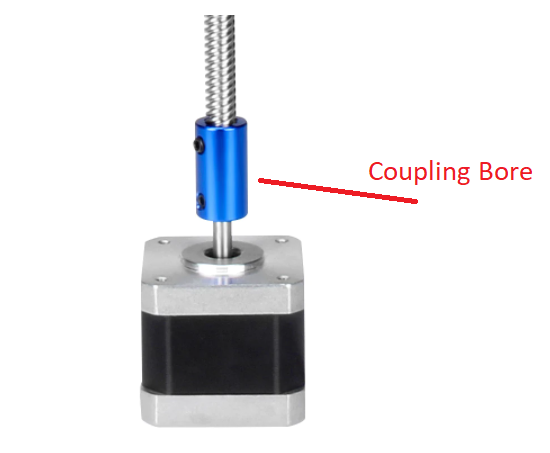
Coupling Bore
Aluminum Alloy Coupling Bore 5x8. The 5x8 means the stepper motor shaft is 5mm and the lead screw is 8mm.
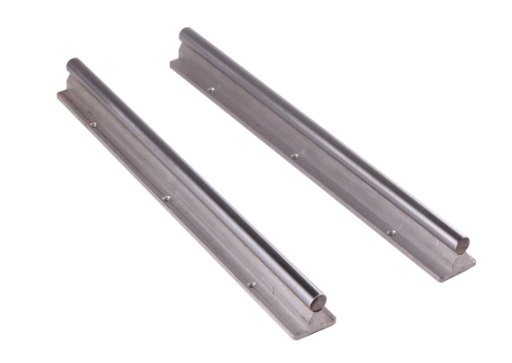
Linear Guide Rail
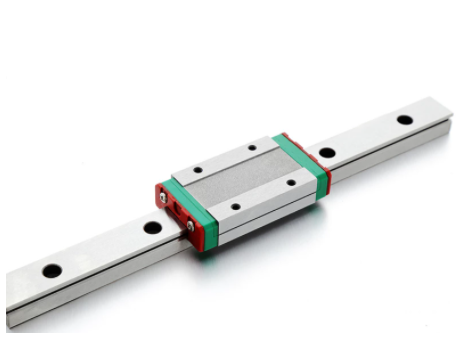
Alternative flat Linear Guide (MGN12)
Other alternative guide rails
- maker slide
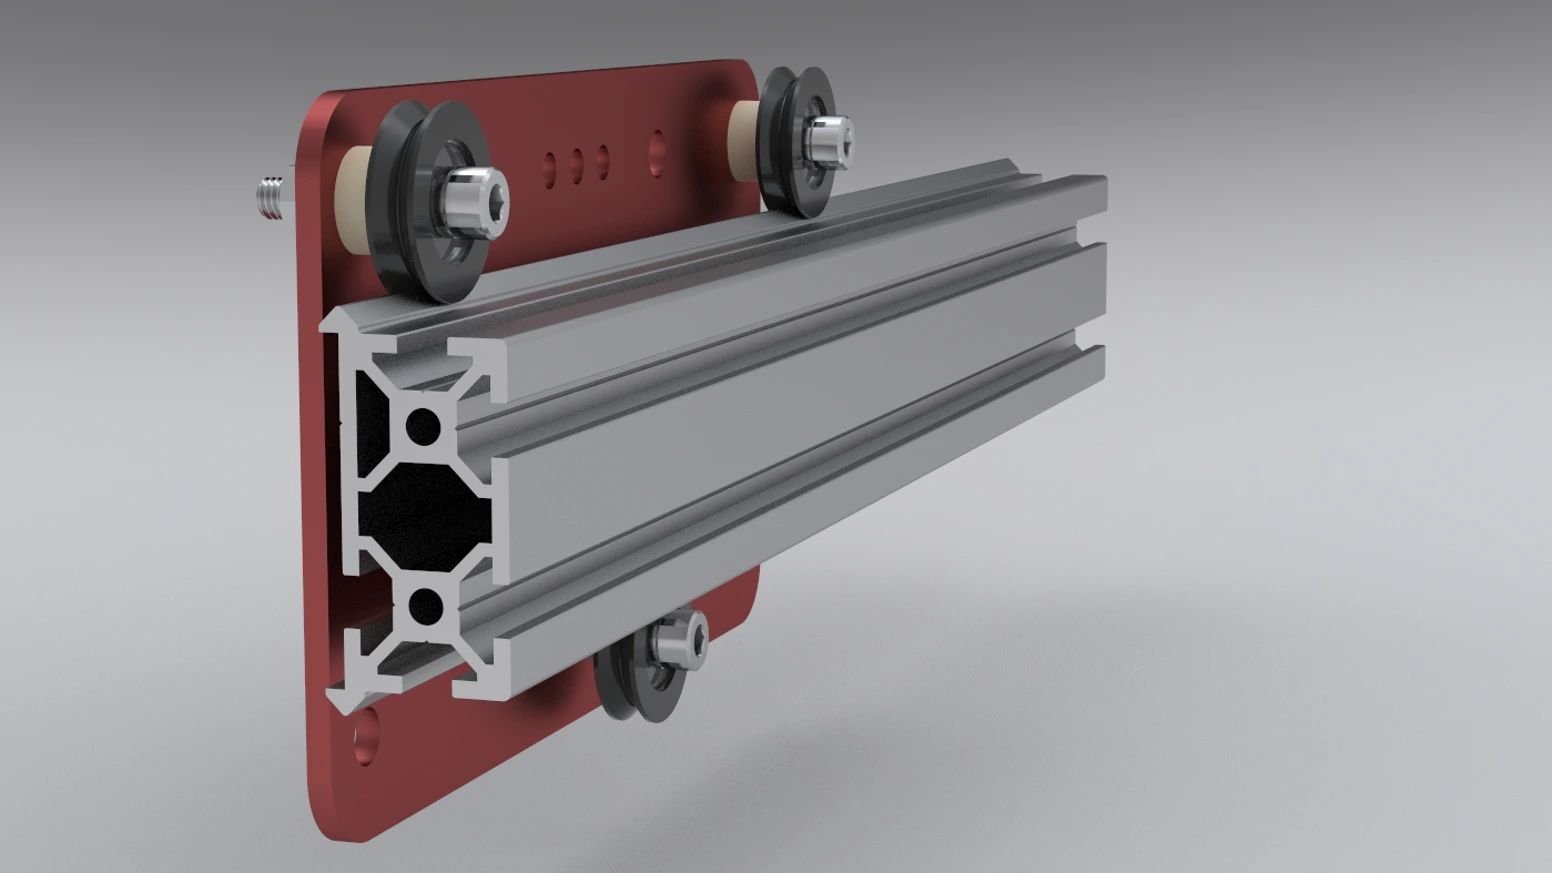
- V-Rail
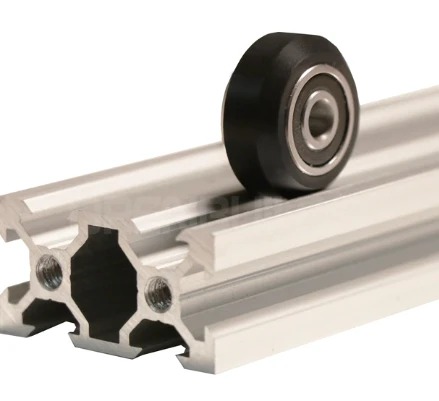
Linear Rods
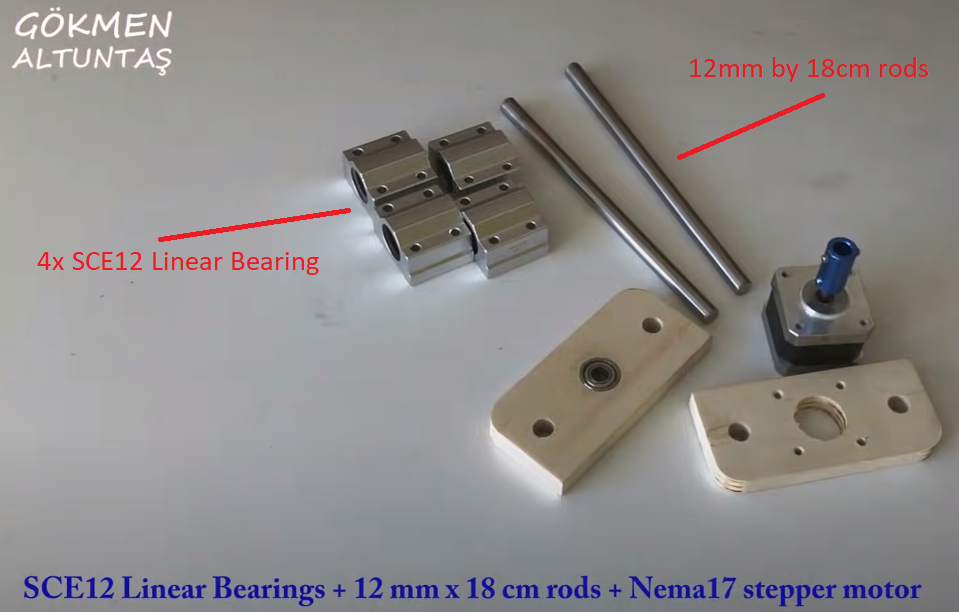
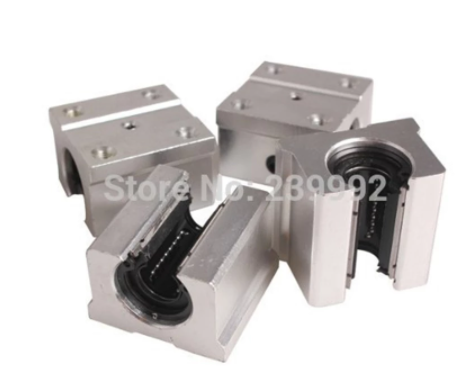
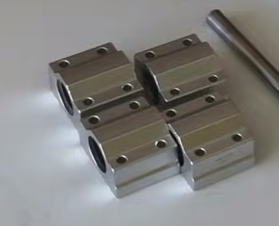
Linear Bearing
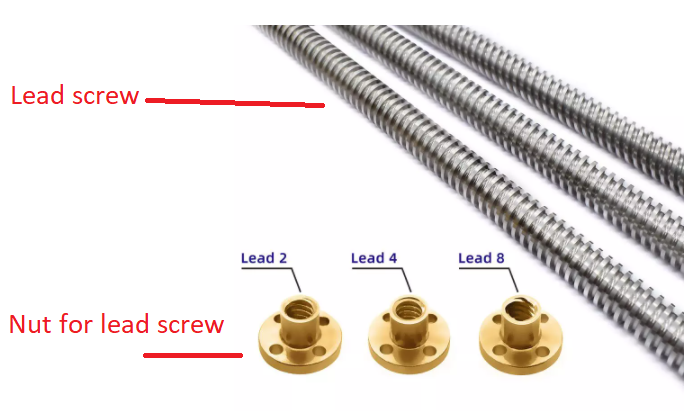
Lead Screw and Nuts
Alternative to lead screw/nuts are
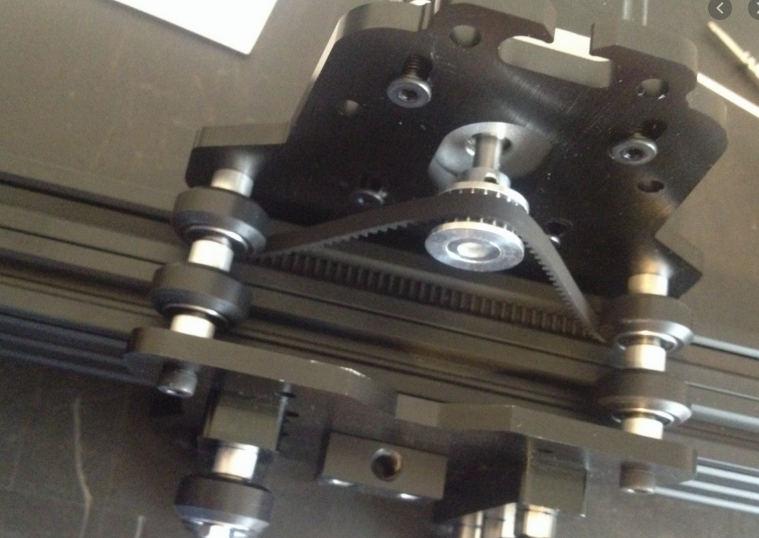
- Belt systems
Bearings
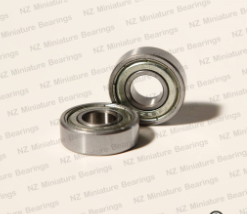
698-ZZ
The 698-ZZ inner diameter is 8 mm, the 698-ZZ outer diameter is 19 mm, the 698-ZZ width is 6 mm and zz means both sides have a metal shield.
SFU1605
These are bearings on a roller screw, they are super rigid and expensive.
- Has 51 steel balls
- Size is 3.175mm
- Bearing steel grade is GCR15 G10
Bits / Endmill
1 | 1/8" => 3.175mm |
Starter bits suggested by Andy Bird Builds
- Downcut Router Bit (1/4” shank, 1/4” diamter, 1” cutting length)
- Cut out profiles, clear pockers
- Downcut Router Bit (1/4” shank, 1/8” diamter, 1/2” cutting length)
- Smaller projects
- 60 degree V-Groove Bit (1/4” shank, 1/2” diameter, 5/8” cutting length)
- Medium to small lettering, covers middle ground size of text
- Vcarving or lettering
- Chamfering edge profiles
- Sign making
- 30 degree V-Groove Bit
- Small intricate designs and carves
- Bowl and Tray Bit (1/4” shank, 3/4” diameter, 1/4” radius)
- Bowls and trays
- Juice grooves
- Clearing material away quickly
- Flattening/Surfacing Bit (1/4” shank, 1” diamter, 1/4” cutting length)
- Flatten waste board and material before milling
Starter bits suggested by MakeTech
- Upcut Router Bit (1/4”)
- Downcut Router Bit (1/4”)
- Compression Bit (1/4”)
- Ball Nose End Mill (1/4”)
- 1/8”
- 1/16”
Advise: You will break bits while learning, buy the cheap ones to start!
- Single flute un-coated cutters are your best option for soft wood, plastic and aluminium.
- Coated cutters have a duller cutting edge which is not good for plastic and aluminium.
- Coatings are many and varied but essentially they provide a very hard surface to the cutter that resists abrasion.
- Cutters from China are usually graded HRC45,55,65 etc the larger the number the stronger the cutter.
Other use cases
Plotter
I found these plotter examples of stepper motor from a CD-ROM really cool, not what I want to build but worth having a look at.
- Plotter made of two old CD drives, a servo and a Raspberry Pi
- https://homofaciens.de/bilder/technik/plotter-cdrom_010.htm
- https://www.raspberrypi.org/blog/we-love-a-good-pen-plotter/
References
4th Axis
Makerslide.co.za