I want to build a 1/10 scale RC crawler from scratch, and I’d rather follow a checklist in the garage than scrub through a video with greasy hands. This post is that checklist: the materials, the parts I need to buy, and the build steps, all based on the two-part build by Waffles RC.
- Part 1: Building 1/10 Scale RC Crawler From Scratch (frame, axles, links, shocks)
- Part 2: Building RC Crawler From Scratch (Part 2) (transmission, body posts, sliders, servo, electronics)
All credit for the design and method goes to Waffles RC. Go watch the videos and subscribe, I’m only reorganising them into something I can tick off. Timestamps like 3:00 jump to the matching part of the video, and the pictures are frames from the videos to show what the words mean.
His philosophy is worth repeating: nothing has to be perfect, build it how you want to drive it, and mistakes go in the scrap pile because you will need that piece later.
Welding materials
This is the metal for the frame and everything welded to it. Waffles RC buys it from a hardware store and uses the offcuts for plates and brackets.
| Item | Used for | Notes | Reference |
|---|---|---|---|
| Angle iron | Lower link mounts on the frame | 12.7 mm wide, 3.2 mm thick (23:52) | |
| Flat plate / sheet scrap | Shock towers, upper link mounts, transfer case plate, servo bracket, battery tray | Offcuts from earlier projects | |
| Sheet metal | Sliding surface inside the sliders | Small piece | |
| Solid steel rod, 4.8 mm | Body posts and sliders (bent into hoops) | 4.8 mm solid steel (13:34) | |
| Weldable square tube, 2 lengths | Two frame rails (all cut from this) | 12.7 mm square, 1219 mm long (1:53) | 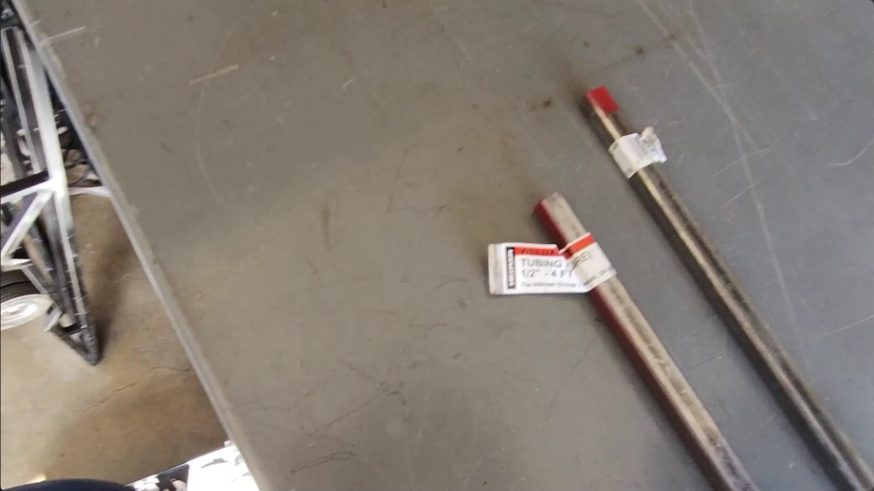 |
Parts to buy
I searched AliExpress for each part on 12/11/2026 and picked from the results. I haven’t verified fit beyond the listing titles, and many listings price options (front or rear axle, one piece or a set) separately, so check the option you choose before ordering.
Chassis, suspension and axles
| Item | Qty | Notes | Reference |
|---|---|---|---|
| Axles, portal (front and rear) | 2 | Portal axles. Many listings are front only or brass, so check you get both axles and the material. AliExpress: BDX RC front and rear portal axle, SCX10 II (front and rear are separate options) • CNC integrated portal axle, SCX10 II • front and rear portal axle, SCX10 II • front and rear portal axle, Capra 1.9 | 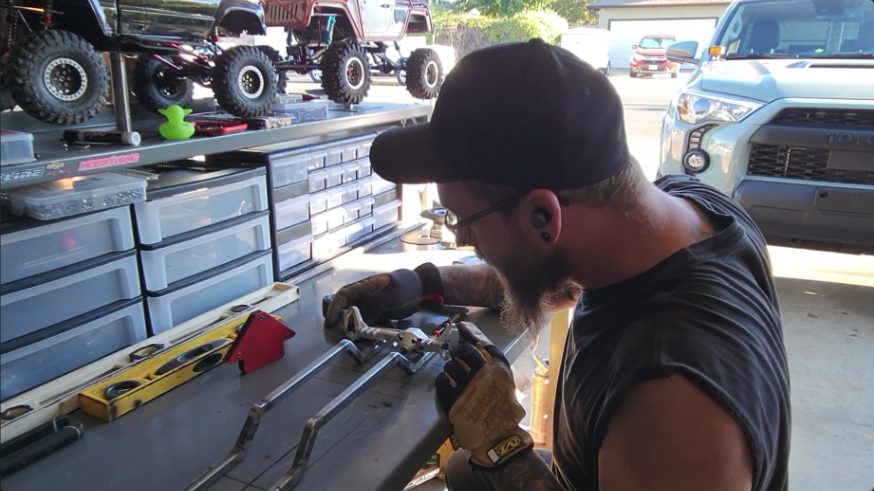 |
| Coilover shocks | 4 | AliExpress, pick the length to suit your axle and frame: 100 mm piggyback shocks for SCX10 • 4 pcs aluminium oil shocks, 52 to 120 mm • 4 pcs 93 mm piggyback shocks | 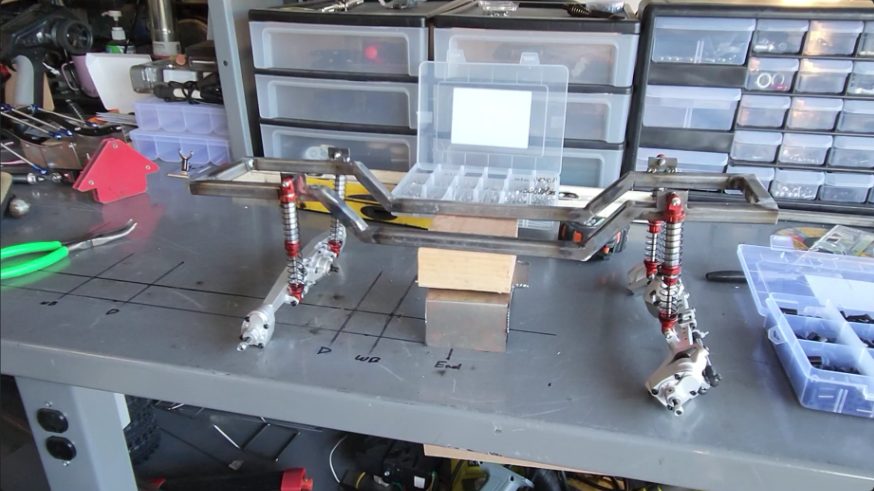 |
| Link arms (aluminium) | 8 (4 per axle) | The AliExpress sets below are 10 pcs, so one pack covers it. AliExpress: AXSPEED 10 pcs alloy links for a 313 mm wheelbase • AXSPEED 10 pcs CNC aluminium links, 313 mm wheelbase | 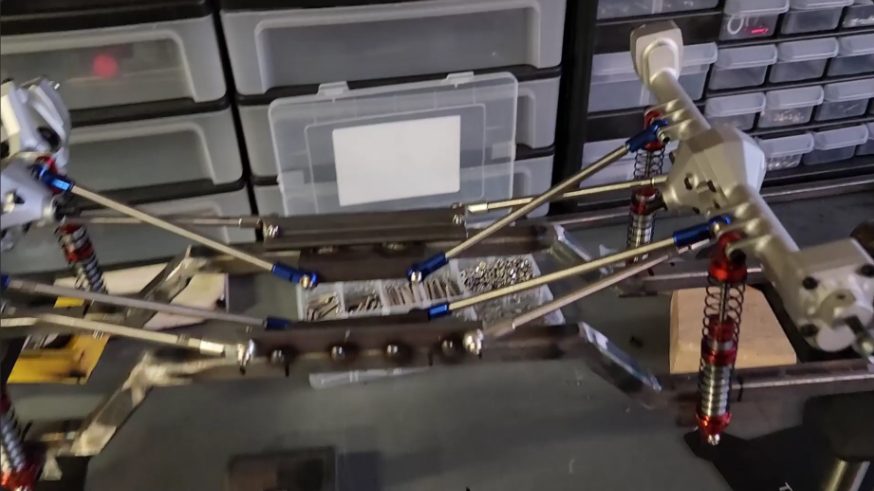 |
| Lock nuts | Lots | AliExpress: 100 pcs M3 nylon lock nuts | |
| M3 hardware, assorted | 1 kit | AliExpress: M3 button head screw kit with nuts and washers • stainless button head screw and nut assortment | |
| Plastic spacers | 1 pack | For offsetting the shocks and springs (22:36). AliExpress: nylon standoff and spacer assortment kit | |
| Rod ends / link ends, metal | 16 (8 per axle) | Sold in packs of 10, so 2 packs (27:41). Metal, not plastic, as the plastic ones stripped out of the links. AliExpress, match the thread (M3 or M4) to your links: M3/M4 metal ball joint rod ends • 10 pcs aluminium M4 rod ends | 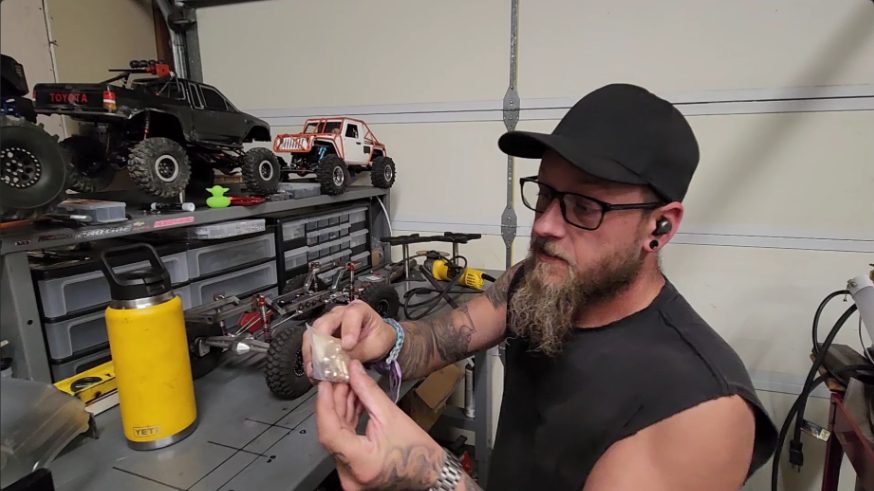 |
| Wheels and tyres | 4 | AliExpress: 4 pcs 1.9 in tyres and beadlock wheels • 4 pcs 1.9 in tyres and metal wheels, 12 mm hex • 4 pcs 120 mm metal beadlock wheels with tyres |
Drivetrain and electronics
| Item | Qty | Notes | Reference |
|---|---|---|---|
| Battery | 1 | AliExpress, check the plug matches your ESC and it fits the tray: OVONIC 2S 5000 mAh LiPo, XT60 • 2S LiPo hard case with XT60 | 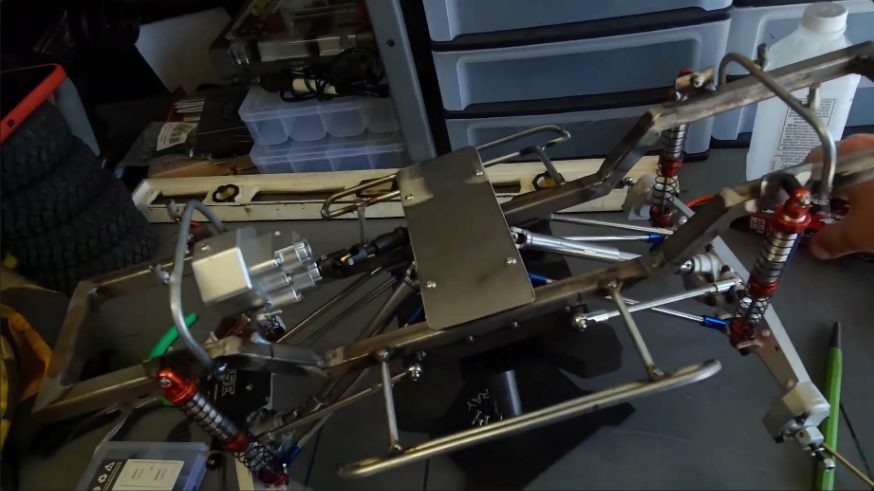 |
| Battery charger | 1 | AliExpress, check whether a power supply is included: iMAX B6 80 W LiPo balance charger | |
| Body (clear shell) | 1 | Typical 1/10 crawler body is about 450 mm long for a 313 mm wheelbase. His Toyota truck body was bigger, about 508 mm long. The frame is sized to the body. AliExpress: 12.3 in (313 mm) clear pickup body • 313 mm clear pickup body kit | 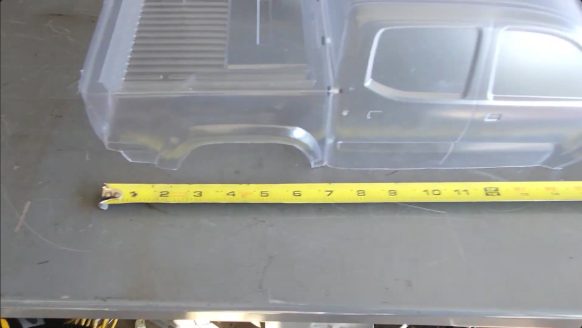 |
| Drive shafts | 2 (front and rear) | AliExpress, measure the length you need first: steel CVD drive shaft kit for portal axles • steel CVD front and rear drive shafts, SCX10 II | 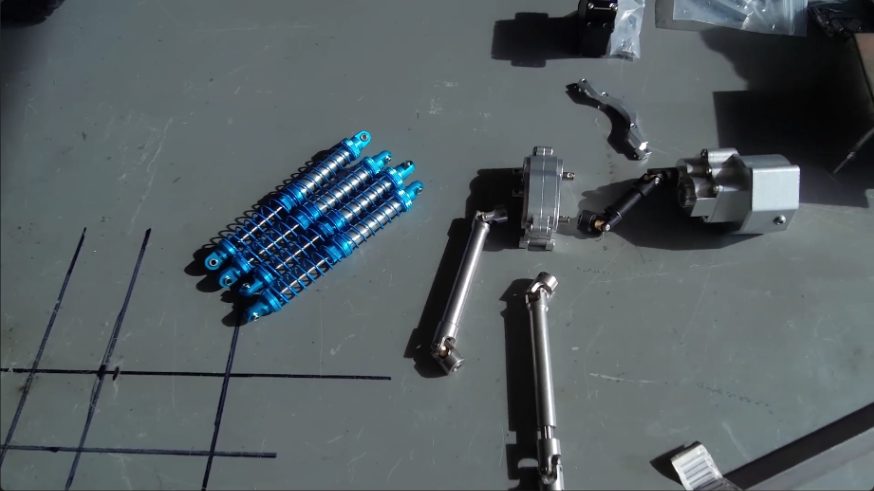 |
| Forward-mount transmission kit | 1 | Comes with its own brackets, which he reuses (10:34). AliExpress, “front motor” means forward mount: front motor 2 speed transmission with transfer case • 2 speed planetary gearbox transfer case, front motor • 2 speed 48P transfer case transmission, steel gears | 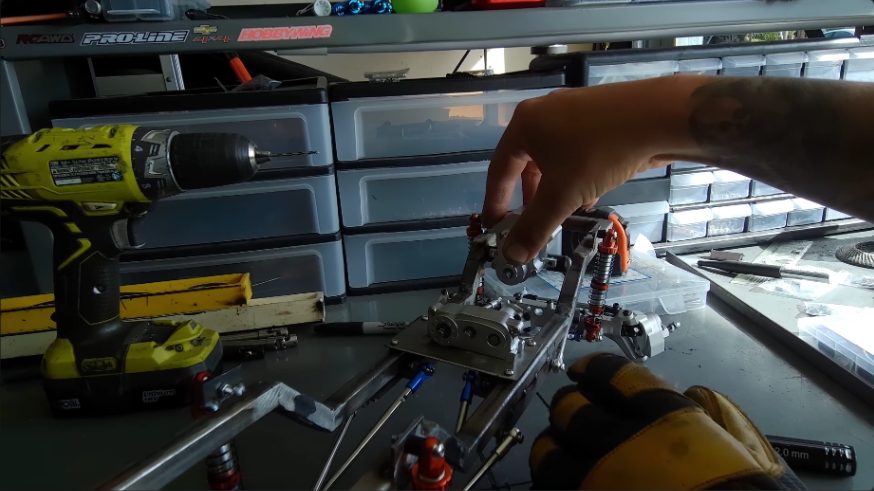 |
| Motor and ESC combo | 1 | Spektrum Firma 2300 KV combo (21:01). AliExpress, choose the 2300 KV option: Hobbywing Fusion Pro 540 2300 KV motor and ESC • SkyRC FuriaX Supa 3650 combo with 60 A ESC | 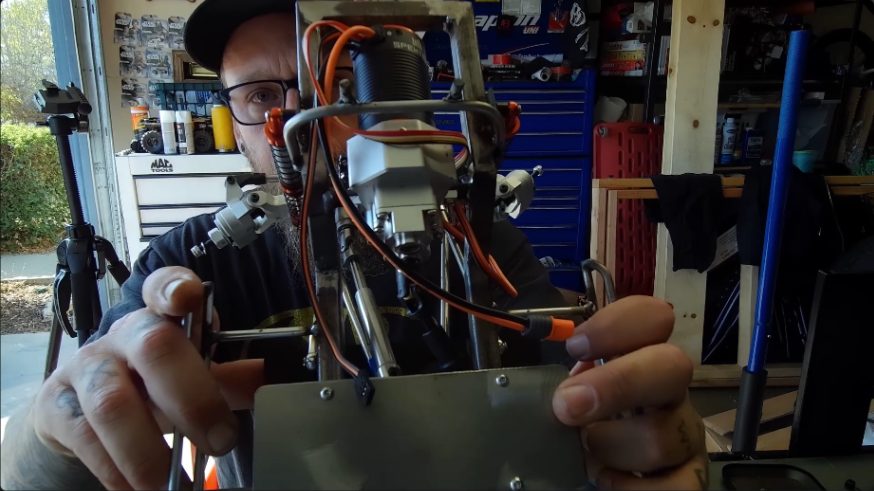 |
| Receiver | 1 | AliExpress, this radio comes with its receiver: FlySky FS-GT5 with FS-BS6 receiver | |
| Steering servo | 1 | AliExpress: DS3235 35 kg waterproof metal gear servo • DSServo DS3235 35 kg servo | 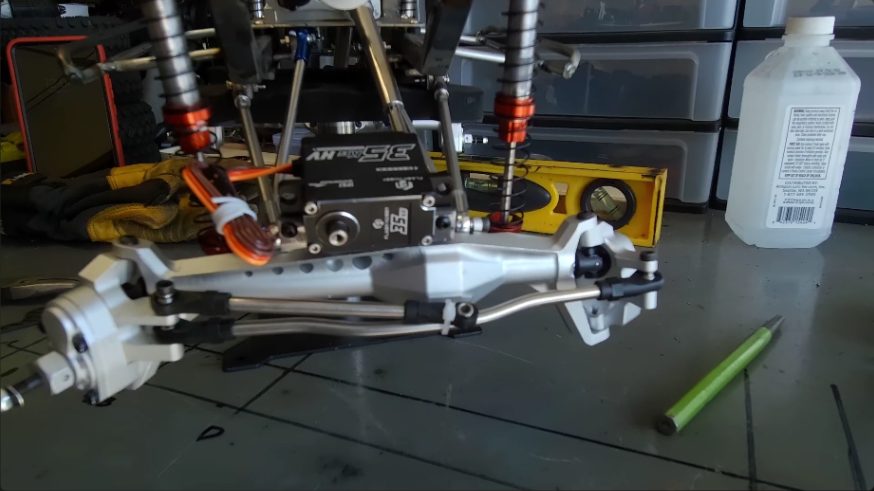 |
| Transfer case | 1 | Often included in the transmission kit above, otherwise on AliExpress: 2 speed transfer case gearbox, 46x53x32 mm | 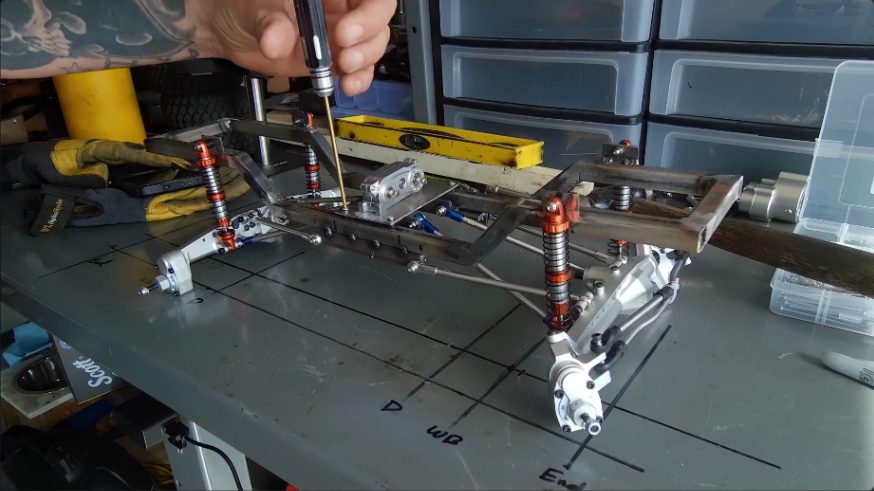 |
| Transmitter (radio) | 1 | AliExpress: FlySky FS-GT5 with FS-BS6 receiver • FlySky FS-GT5 with receiver | |
| Zip ties and foam padding | 1 pack | AliExpress, zip ties only (no foam searched): 250/500/1000 black nylon zip ties |
He’s relaxed about brand: run whatever electronics you like.
Tools
Waffles RC has no fancy bench tools, so most of this is basic.
| Tool | Notes | Reference |
|---|---|---|
| Angle grinder / cut-off tool | Cuts and cleans up the welds. Hand tools are fine at this size | |
| Clamps / vice | He wished for a vice (12:31) | |
| Drill and bits | Drill holes slightly bigger than the bolts for wiggle room | |
| Hammer and centre punch | For marking holes | |
| Home-made tube bender | A spacer welded to a bolt, welded to another bolt (13:49) | 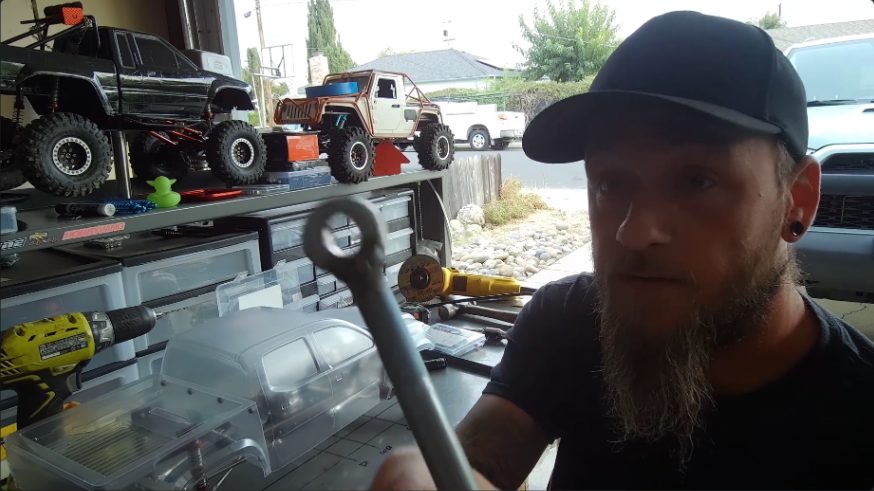 |
| Painter’s tape | For transferring hole positions | 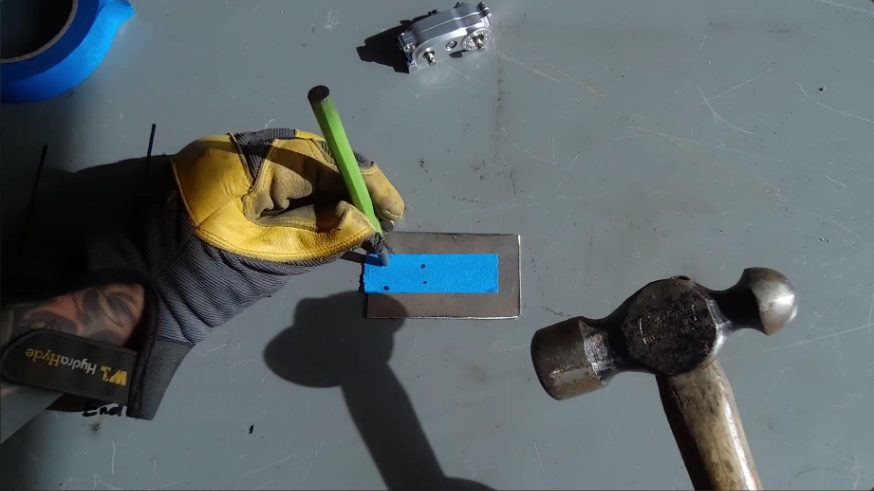 |
| Tap set | 20 piece set, for threading holes in the frame (9:36) | 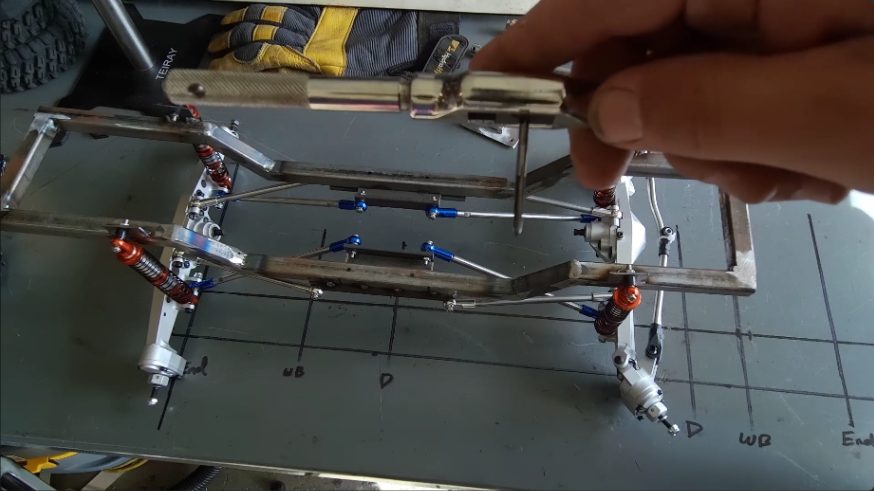 |
| Tape measure, level, marker or pen | A permanent marker doesn’t come off a metal bench | |
| Welder | MIG with gas, or flux core. With flux core you grind off the slag and it’s just as strong for an RC (14:18) | 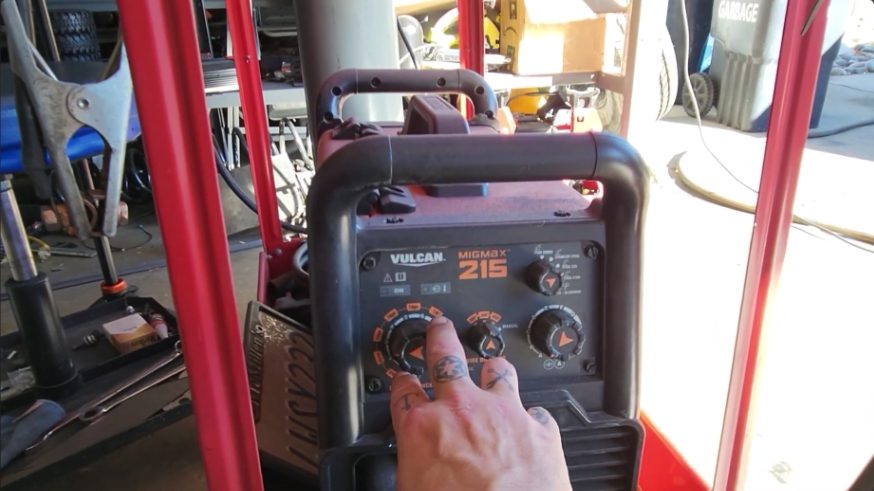 |
| Welding safety gear | Helmet, gloves, no smartwatch (15:00) |
1. Measure the body
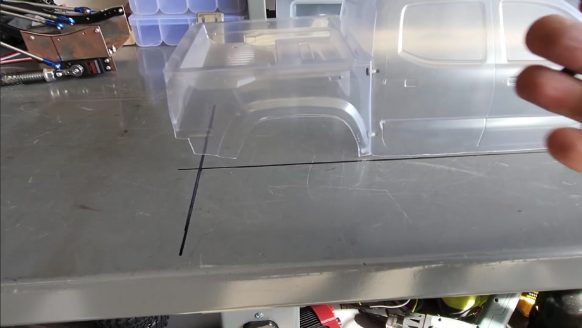
Everything is sized from the body, so do this first (2:59). Put the body on a flat surface you can draw on and take two measurements:
- Body length: end to end. The frame should be a little shorter so it sits inside the body and leaves room for bumpers. Typical 1/10 crawler: body about 450 mm, frame about 425 mm. Waffles RC’s bigger body was 508 mm with a 483 mm frame.
- Wheelbase: centre of the front wheel arch to centre of the rear arch. Standard 1/10 crawler: 313 mm. Waffles RC used about 330 mm.
1 | Body length = <body-length> mm |
2. Draw the frame rail on the bench
Mark out one rail on a flat surface (4:46):
- Draw a straight line with a level.
- Mark the frame length and the two wheelbase points on it. Check the wheelbase against your first measurement.
- Lay the tube on the line and mark where the kick down starts and where the kick up starts.
- Label each mark (
Dfor down,Wfor wheelbase, and so on). You will confuse yourself otherwise.
The kick down puts the middle of the frame lower, where the battery, transmission, motor and electronics sit. The ends tuck up so the axles have room to travel and the frame stays hidden under the body (7:01).
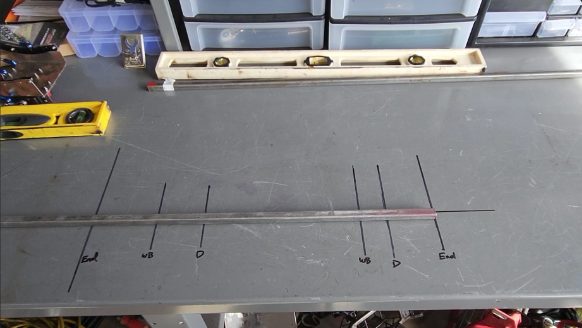
Waffles RC dropped the frame about 38 mm and set the angle by eye (9:33). I’m using
3. Cut the frame pieces
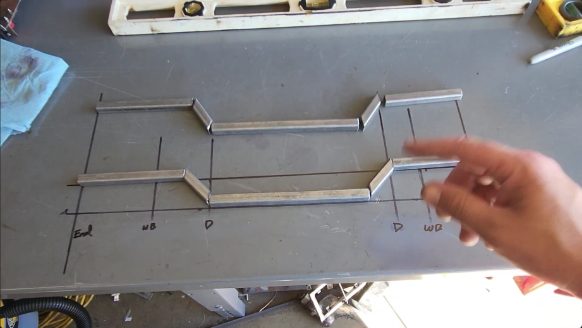
Cut each piece once, then use it as the template for the second rail so both rails match (8:28):
- Cut the front section at the kick down mark.
- Cut the matching angled piece for the drop, and a second one for the other rail.
- Cut the middle section and the rear kick up pieces the same way.
You should end up with two of every piece. Keep any mistake cuts, he found his fit the other rail (11:00). If a gap is too wide, grind and weld it up, which is normal for a scratch build.
4. Tack and weld the rails
Put the pieces back on the line, tack them, check they are straight, then weld (14:16):
- Line the pieces up on the drawn line.
- Tack everything.
- Re-check straightness, then weld.
- Grind the welds smooth.
Expect the metal to pull and stretch as it cools, so one rail may end up slightly longer than the other. Line them up on the end where the control arms mount (19:33). Take the smartwatch off first.
5. Set the frame width and join the rails
The width depends on your axles (17:44). Measure between the outer shock mounts on the axle, and make the frame that wide, outside to outside. If the frame is too narrow or too wide the shocks sit at an angle instead of straight up and down.
Waffles RC: 95 mm outside to outside, on both axles. Mine is
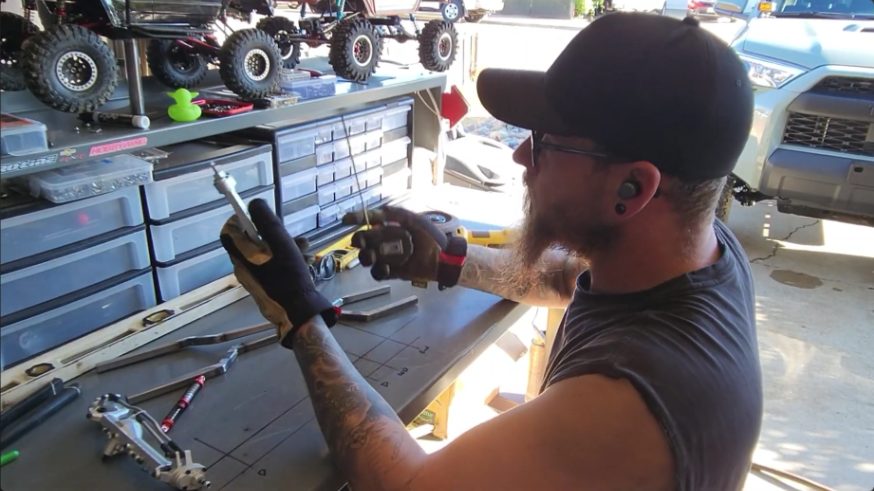
Use scrap pieces as cross members and as a straight edge to check the width, weld them in, and let everything cool.
6. Mark the axle and shock positions
Flip the frame over and place it back on the drawing (20:25):
- Line the centre of each axle up with the wheelbase marks.
- Mark the shock mount positions on the frame, so that at ride height the shocks stand straight.
- Use the rear axle for the rear marks and the front axle for the front marks. The shock mount spacing is different on each.
7. Make and mount the shock towers
Cut shock towers from flat scrap, leaving enough metal around the hole to be strong (21:41):
- Cut and shape the tower.
- Line the hole up with your shock mark on the frame, and weld it on.
- Mount the shock with plastic spacers where the spring needs an offset. M3 hardware does the rest.
Check which way round the shock goes before you tighten it. He fitted one backwards (23:05).
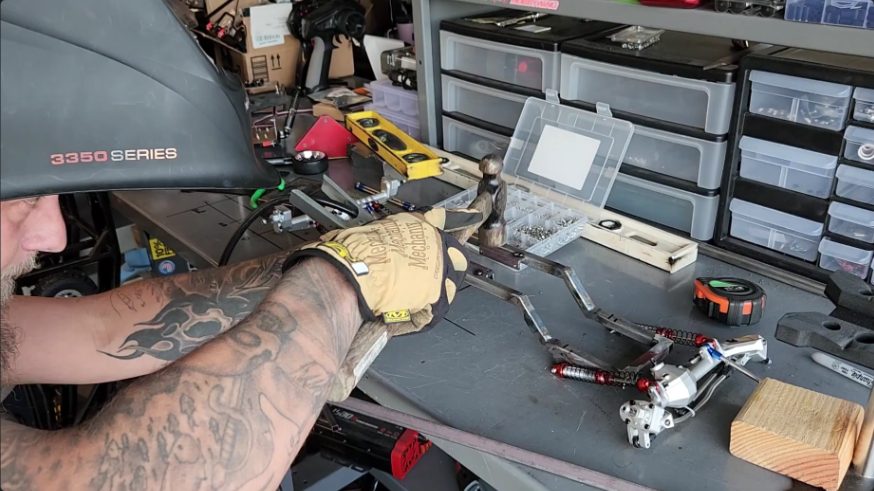
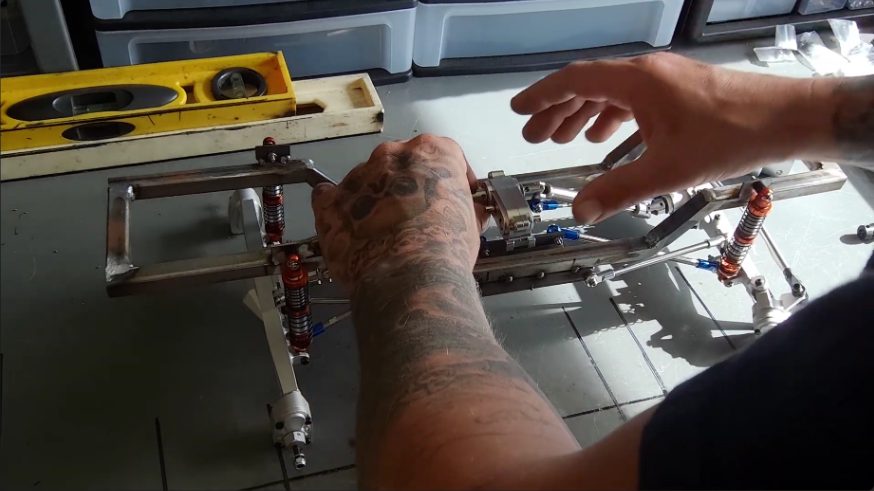
8. Mount the lower links
Prop the frame up and get the axles in about the right place (23:28):
- Set the pinions about where you want them. The shocks go slightly back, since as the suspension compresses the axle travels forward.
- Cut angle iron link mounts. The links are triangulated, so the mounts sit nearer the middle of the frame, not at the ends.
- Hold them in position, mark the frame, and weld them on (temporarily at this stage).
- Fit the lower links, with rod ends at both ends.
9. Make and mount the upper links
For the upper links, mark the mounting points from the outside of the arm to the outside, drill the holes, cut the brackets and weld them on (24:50). Then fit the upper links.
Check the pinion angle. Waffles RC found the rear one too sharp and adjusted it (26:10). When you can roll it on the bench, you have a chassis. It took him about 6 hours.
10. Mount the transfer case
Part 2 starts here. Take the wheels off first, so the welding doesn’t melt them (4:09).
- Sit the transfer case where you want it with the drive shafts fitted, and check there is enough shaft length front and rear.
- Cut a plate from scrap to sit on top of the frame and carry it. Offset it a little, because the outputs go to the front and rear differentials.
- Transfer the hole positions onto the plate (6:33): put painter’s tape on the bottom of the transfer case, press where the holes are, mark them with a marker, and stick the tape on the plate. Then centre punch each mark.
- Drill the holes slightly bigger than the bolts for wiggle room.
- Place the plate on the frame, mark and drill four corner holes, and tap the frame holes with the tap set (9:21).
11. Mount the transmission and motor
Position the transmission so that at full compression the steering servo on the axle doesn’t hit the motor (10:13).
- The transmission kit’s brackets are made for a specific frame, so reuse them and make your own mounting plates.
- Hold it where you want it, mark, and cut metal to suit.
- Weld a plate in, cut out the centre if it won’t fit, then bolt it through.
- Use lock nuts everywhere that you can. Regular nuts are fine while it is only temporary and you will take it apart to paint it.
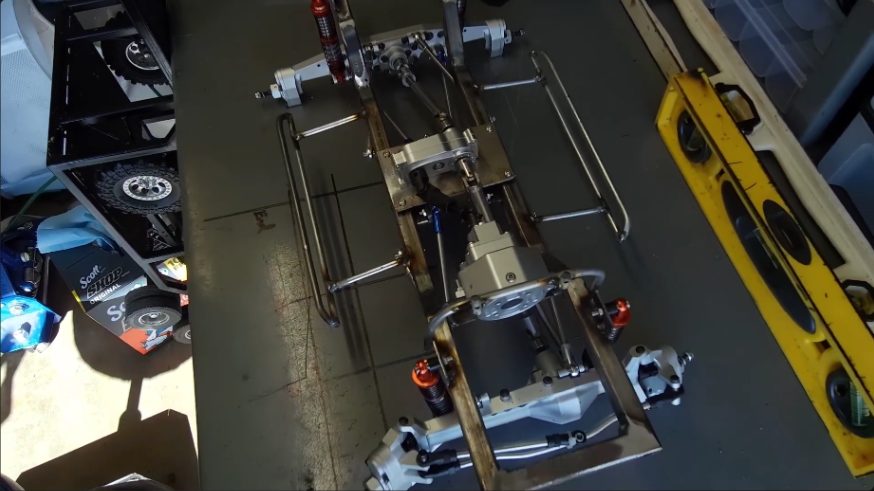
12. Make the body posts
Bend body posts from 4.8 mm solid steel (13:23):
- Build a tube bender: a spacer welded to a bolt, welded to another bolt.
- Bend 90° hoops, one for the front and one for the back, that go around the frame.
- Measure from the frame to the fender, equal on both sides, so the body sits where you want it (17:09).
- Weld them to the frame, then do the final weld and grind them smooth once all the parts are off.
13. Make the sliders
Make sliders from the same 4.8 mm rod (17:51):
- Bend the rod so it sits outside the body.
- Add legs that weld to the frame, mark where they go and weld them on.
- Weld a piece of sheet metal in between so there is something smooth to slide on over rocks.
14. Steering servo bracket and battery tray
- Servo bracket: use the metal you have, bolt it to the axle and cut to suit (19:37). Trim any corner that hits a control arm.
- Battery tray: a flat piece of metal in the middle of the frame, with padding on top (20:32).
15. Electronics and test
Fit the motor, ESC, receiver and servo, tidy the wires with zip ties, and turn it on (20:50).
His test is simple: can it climb two steps, one 127 mm and one a little over? (25:39). If it does, it’s a worthy RC.
16. Finish
Off camera, Waffles RC does the final welding, takes it all apart, paints it, and uses thread locker and grease on reassembly (28:09). His next video is meant to cover an outing with his other trucks. I’ll add anything useful from it here.
Source: Waffles RC on YouTube • Part 1 • Part 2