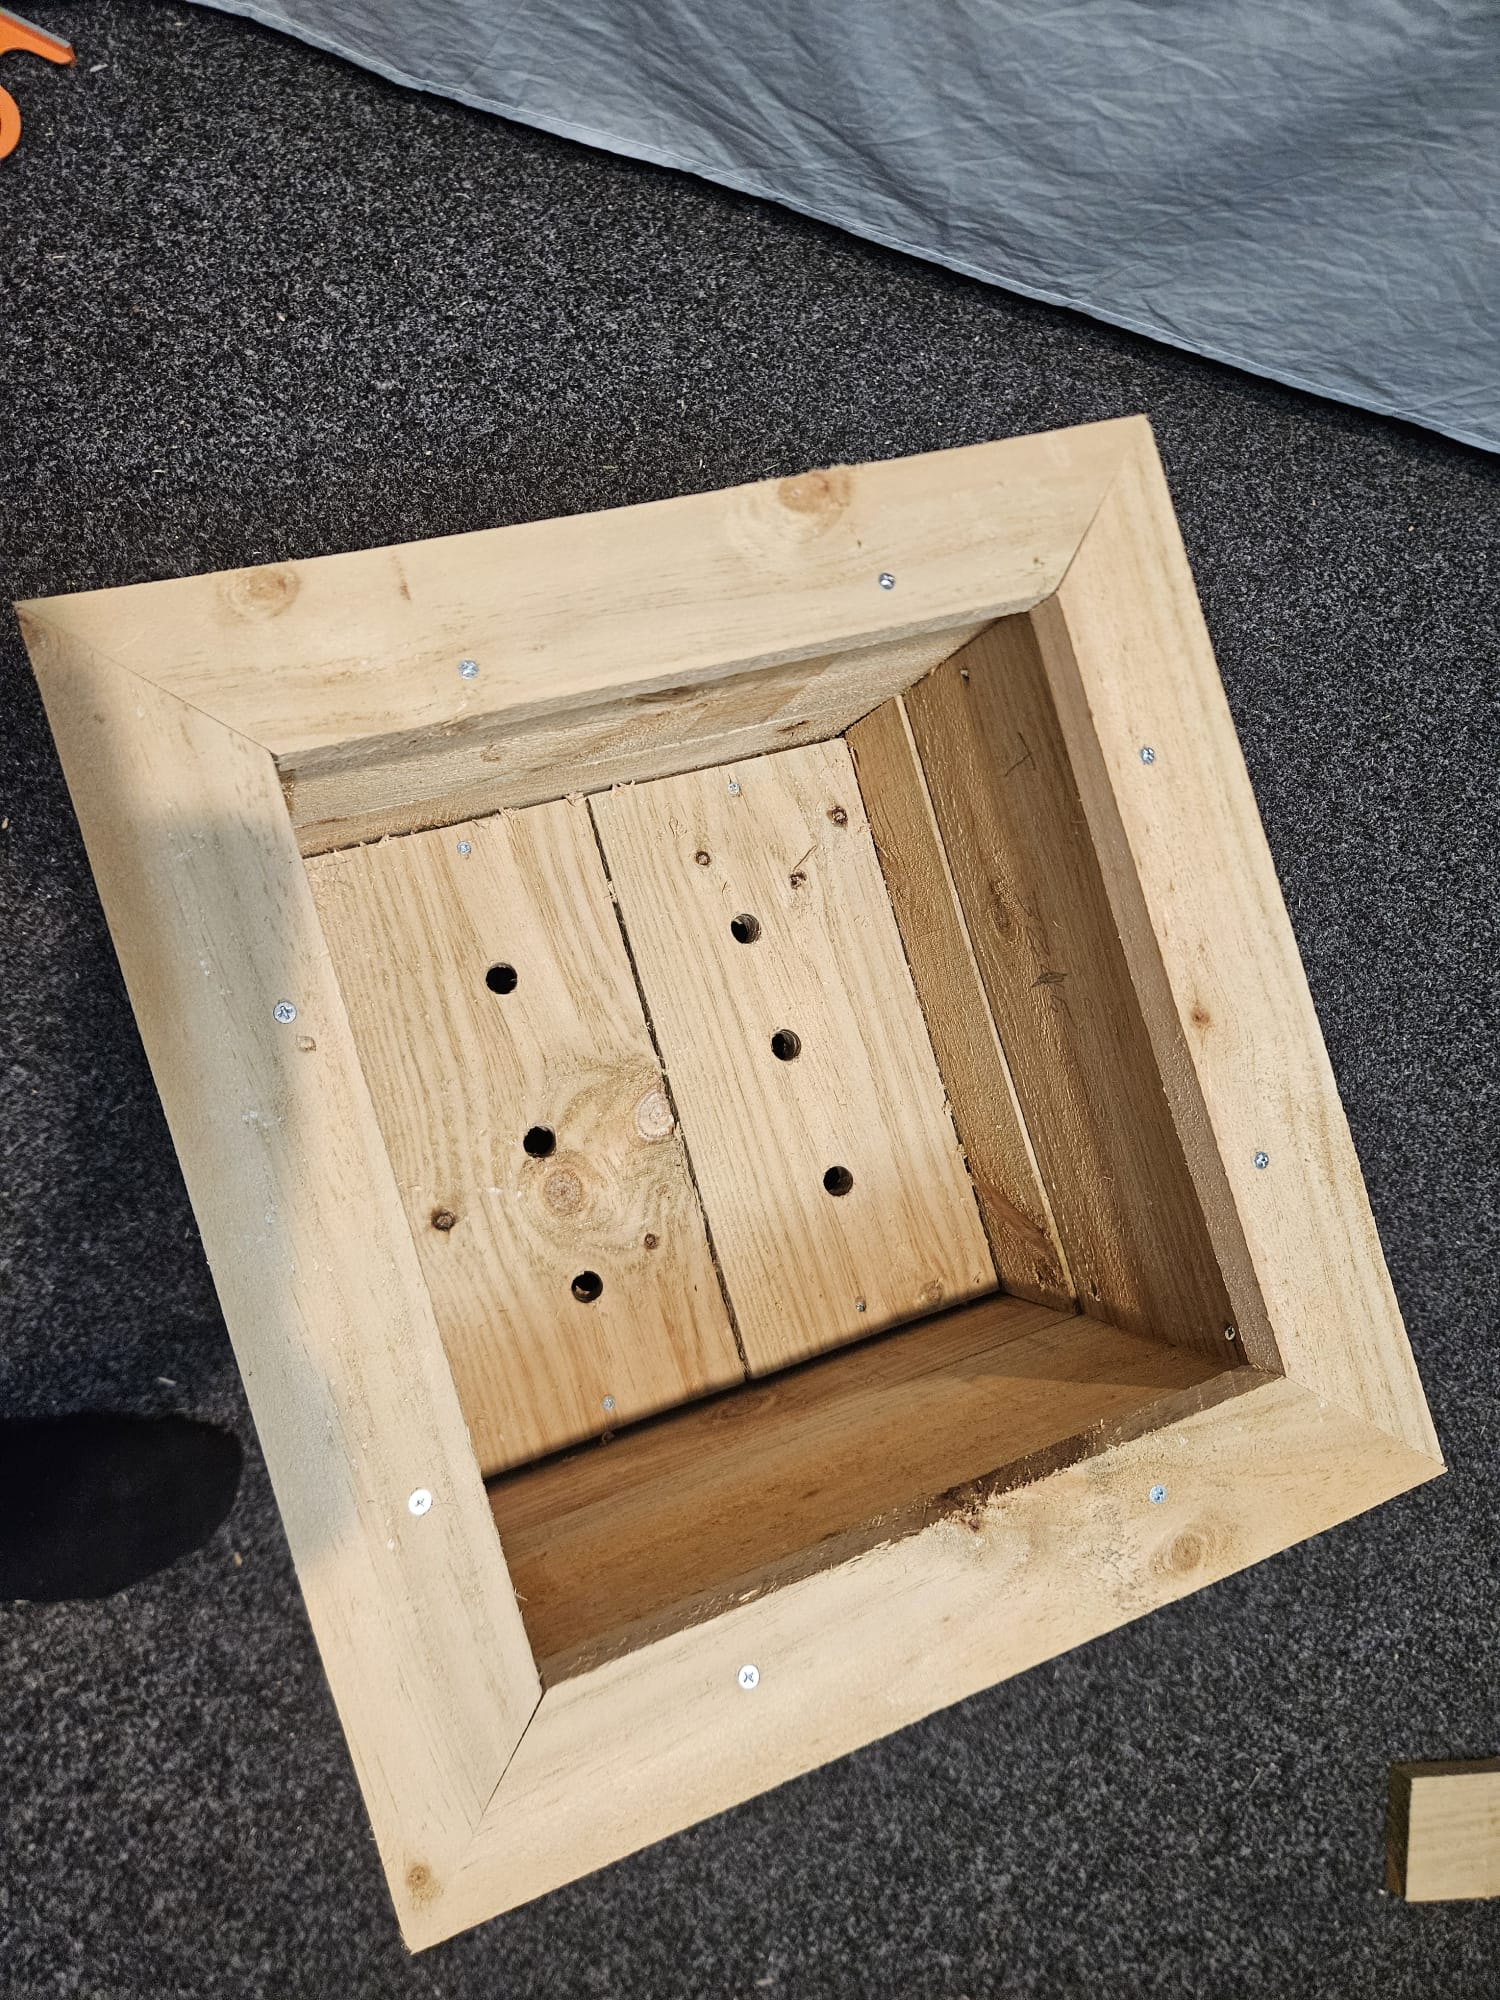
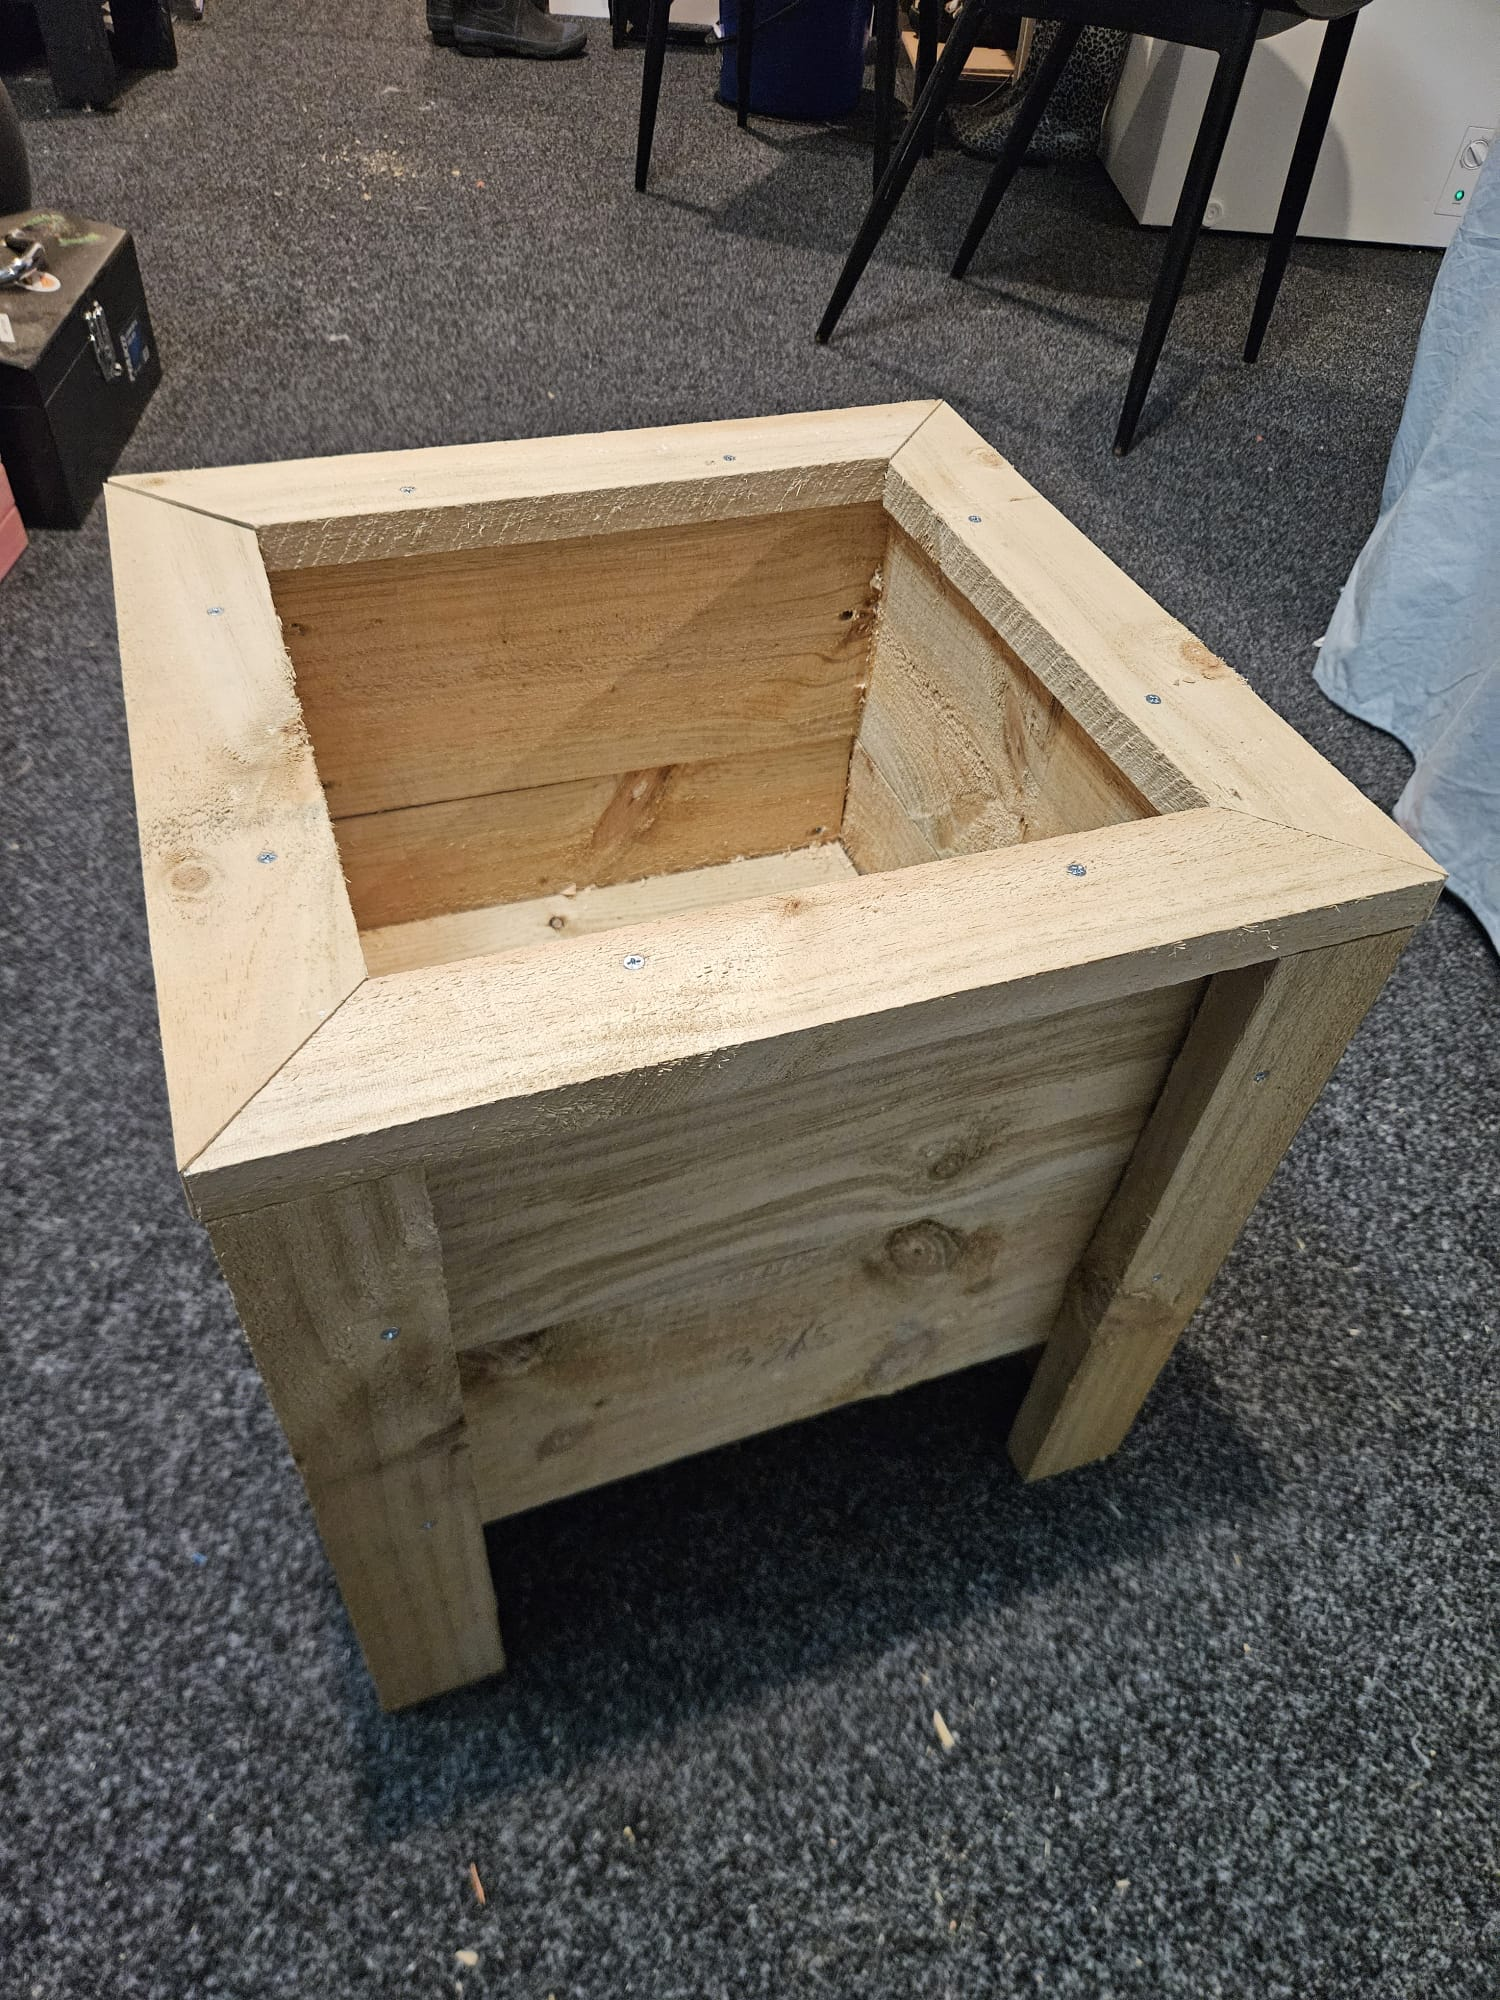
I often build something and then forget how, maybe this post helps me re-build this planter box when I need another.
Massive shout out to Whos The Voss, the dudes video and free plans are super easy to follow and I love his Chicken prop 🐔. Everything I did here was based off watching his video and looking at his plans. Give the dude like and subscribe!
I dont have access to the same cedar fence pickets he does, its a shame because that wood comes in a thinner size, it has natural oils keeping the bugs out which also makes it food planter safe. I made due with Bunnings 150 x 19 x 1800mm H3.2 Fence Paling which is not food safe without a platic inner but I’m just planting some flowers, I’m not much of a farmer. In fact if the world relied on me for food we would all starve.
H3.2 is the hazard class / treatment level for treated timber in New Zealand. H3 means its treated for above-ground exterior use, where it will be exposed to weather. The .2 means a higher level of treatment than H3.1, intended for situations with a greater risk of moisture. H4 means the wood should survive below ground but its actually the line where its level with the ground that normally rots. Meh, Im not a builder so dont listen to me - but I do have a hammer 🧌
Side note, apparently we get Macrocarpa here in NZ which is close to Ceder, you can get it from Cypress Sawmill. Perhaps that can be used in my next sawdust adventure!
Cuts
Im a nerd so drew the part in Onshape to try understand the cuts, I dont speak freedom units so could not follow Whos The Voss but I can convert them and best guess with my thicker 19mm Bunnings fence palings. I think the cedar my friends in the US use are 15mm but I get lost in the freedom unit translations :D
After drawing the cuts in onshape I went low tech and just snippet as images, this takes into account the curf of my drop saw blade @ 2.7mm and jigsaw blade at 1.3mm, I dont have a table saw. Lame.
Picket 1
The red is off cut, burn it! 355mm makes up the wider sides and 325mm makes up the slightly narrow sides and base.
Picket 2
Hey look its the same as 1, red is still fire wood!
Picket 3
Here I used colours to explain the differnce and noted the steps I took
- Rip the boards at
58mmand58mm, these sizes take into account my blade curf - The grey is the top lip, I measure those at the end and 45 degree mitre them
- The
410mmpurple are the thicker (58mm) part of the legs - The
410mmgreen is the thinner (31mm) part of the legs - The
74mmorange are the base supports

Building
All steps used outdoor rated wood glue and screws, nails would would have been easier but I used what I had.
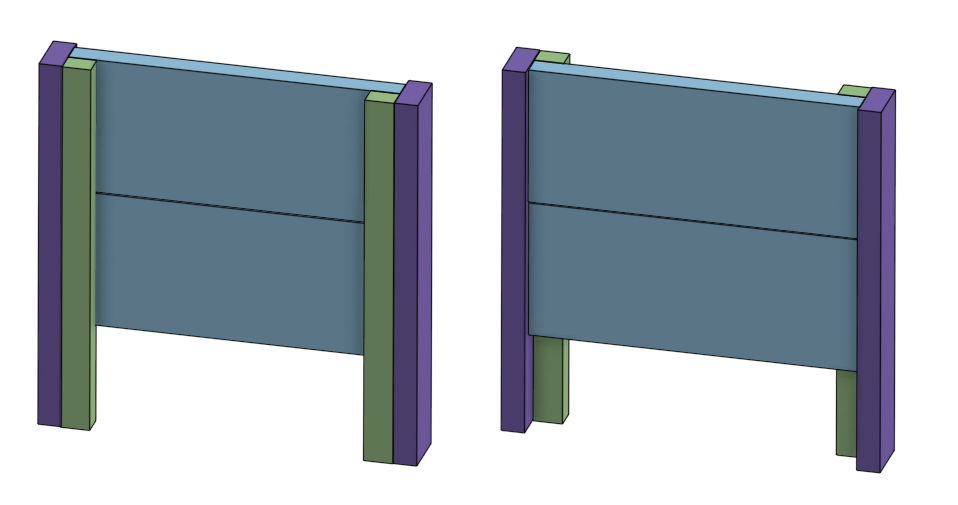
Stack the wider
355mmside and attach the thinner (31mm) legs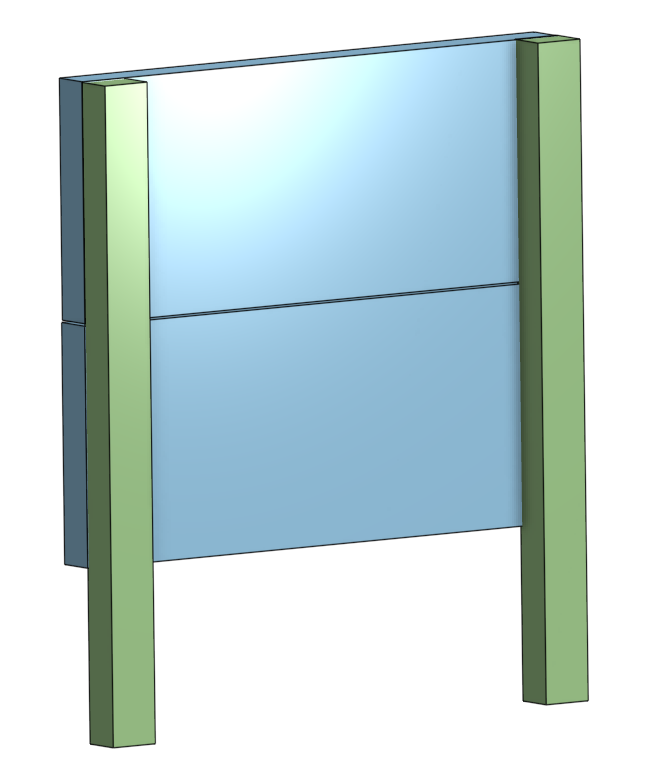
Attach the thicker (58mm) legs
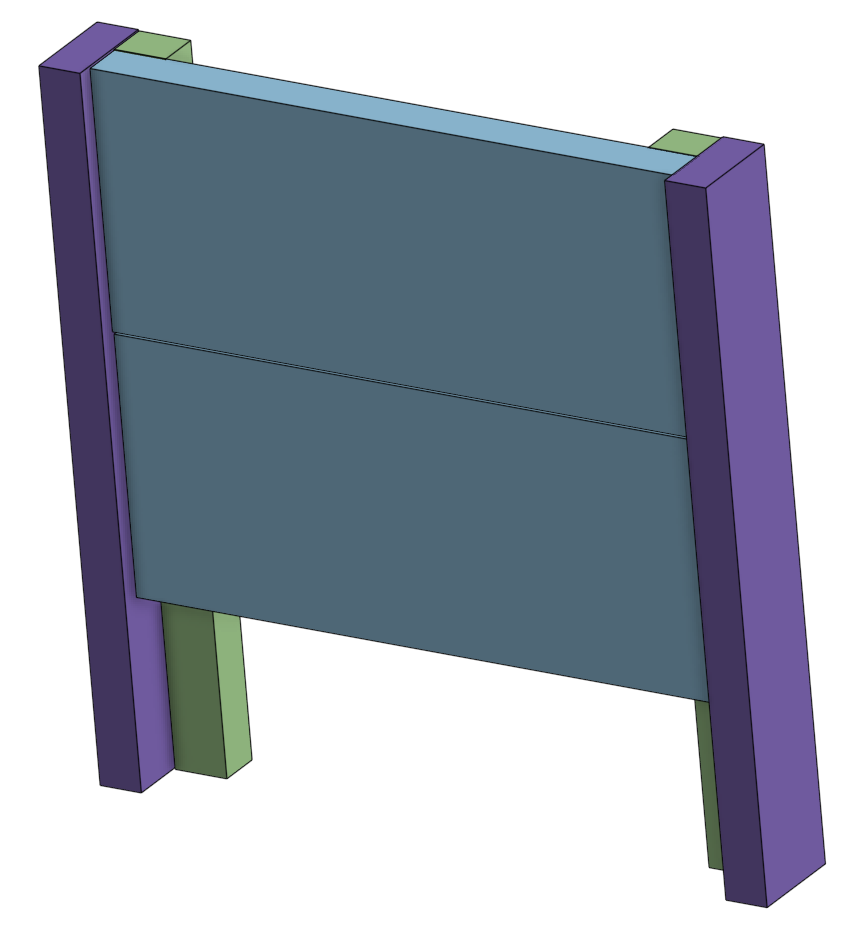
Repeat step 1 and 2 creating another part
Attach the
325mmslightly narrow sides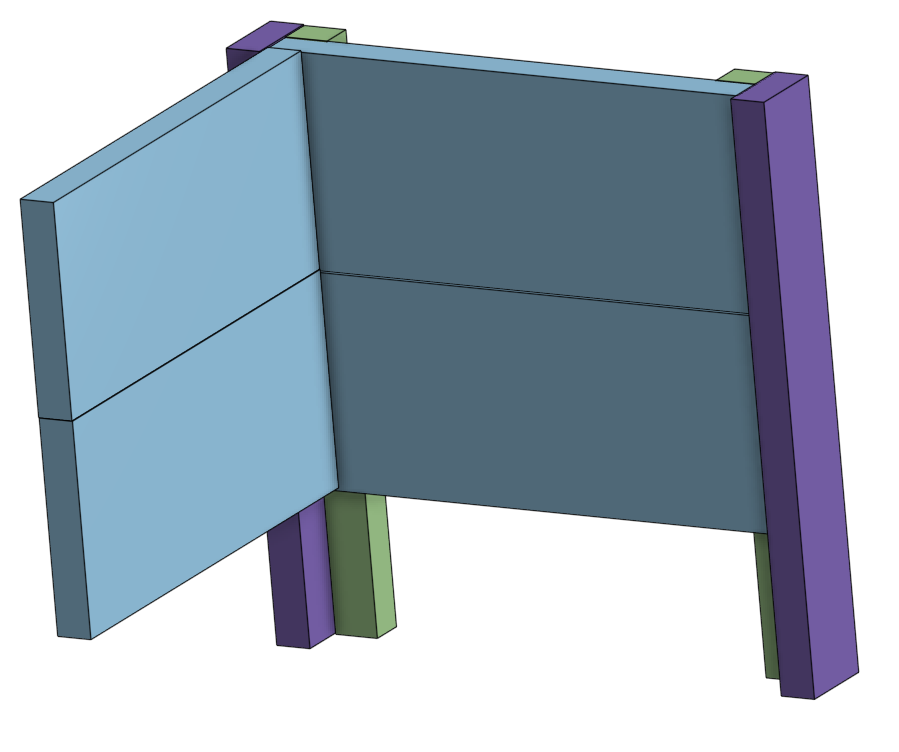
Attach the remaining
325mmslightly narrow sides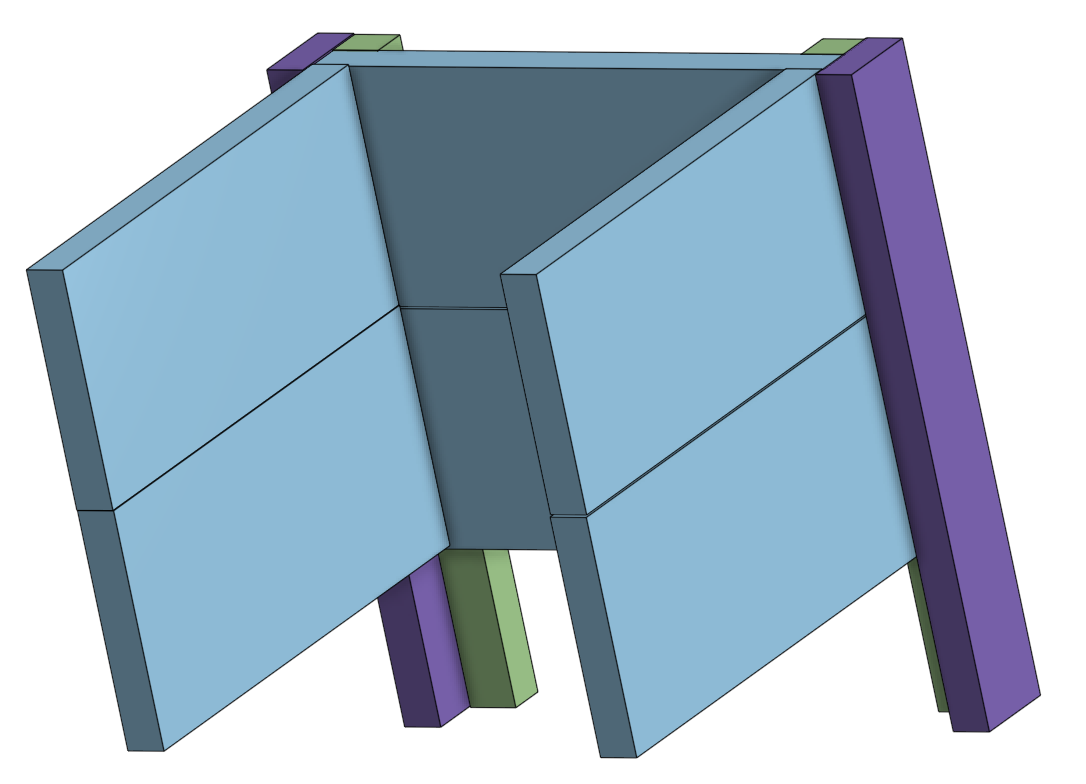
Attach the two main parts, hey its looking like a box
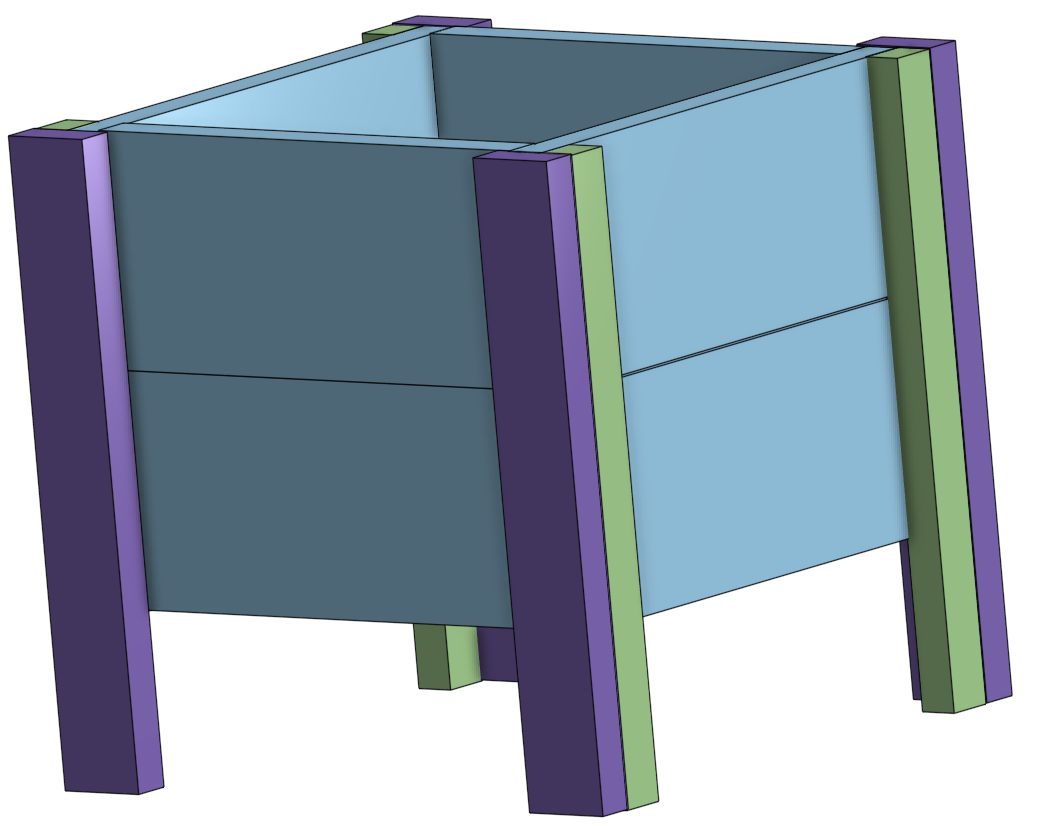
Add the base supports, these go on the
325mmslightly narrow sides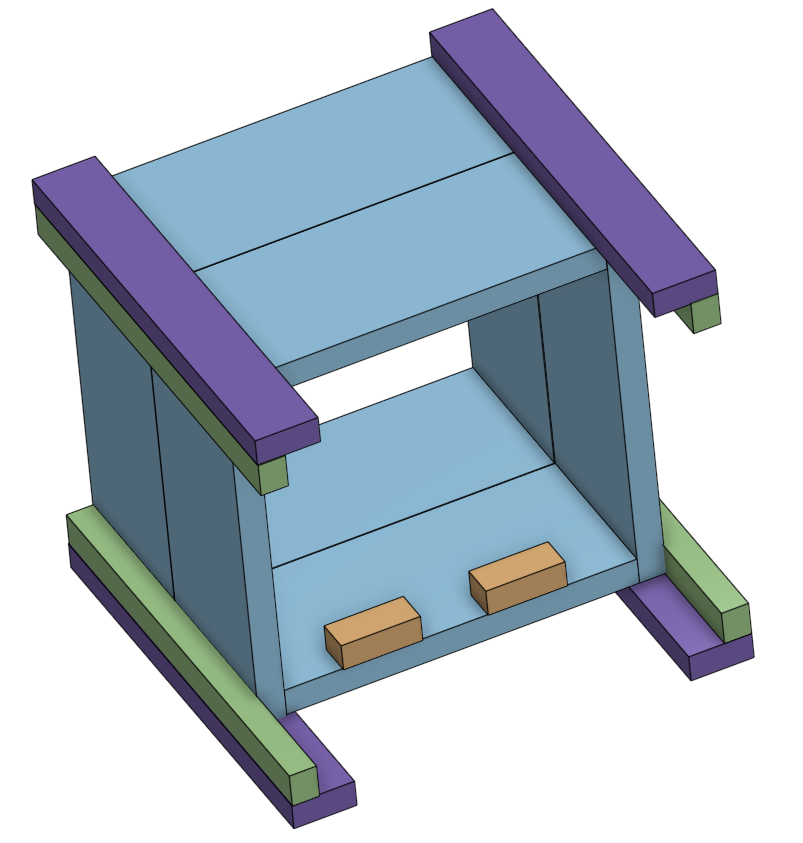
Add the base supports to the other side
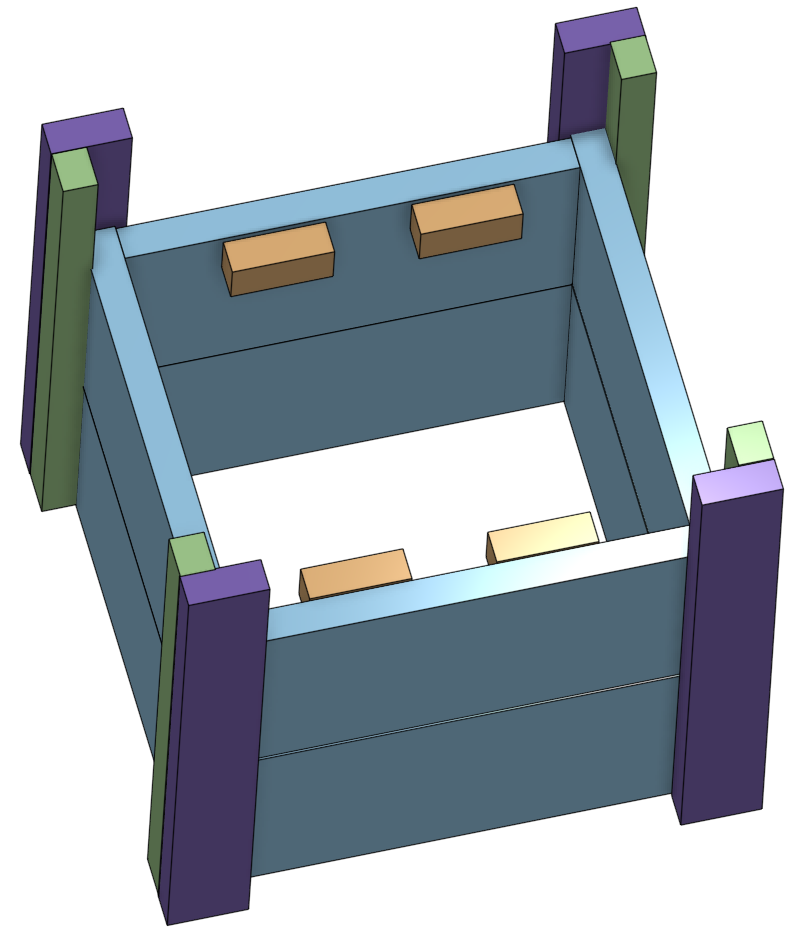
Pop in the base, I trimmed off a 2mm to allow it to easily fit
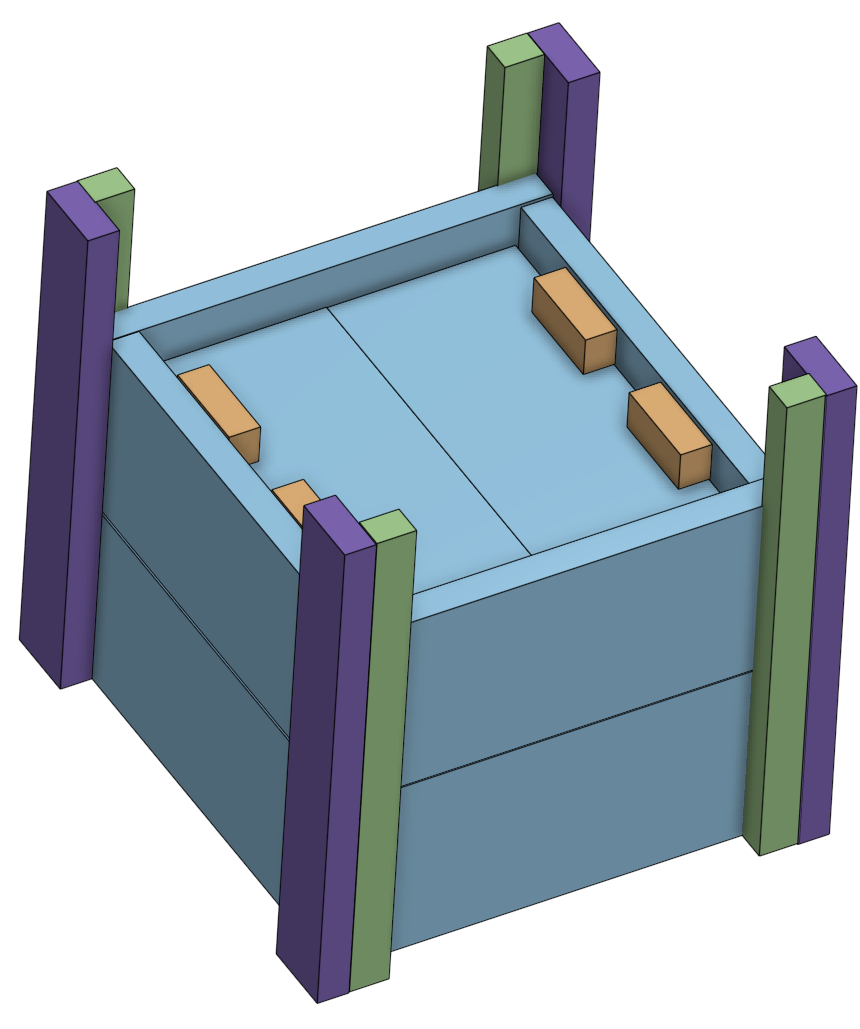
Finally pop on the top lip, I was too lazy to cut and mitre in onshape so heres the actual planter ❤️ Added some drainage holes