Also see All Operations.
The Level operation is useful to level the top of the stock, so the wood you cutting, or the part which is the result. My process so far has been on the stock using a 25mm flattening end mill bit as described in my Tools config here.
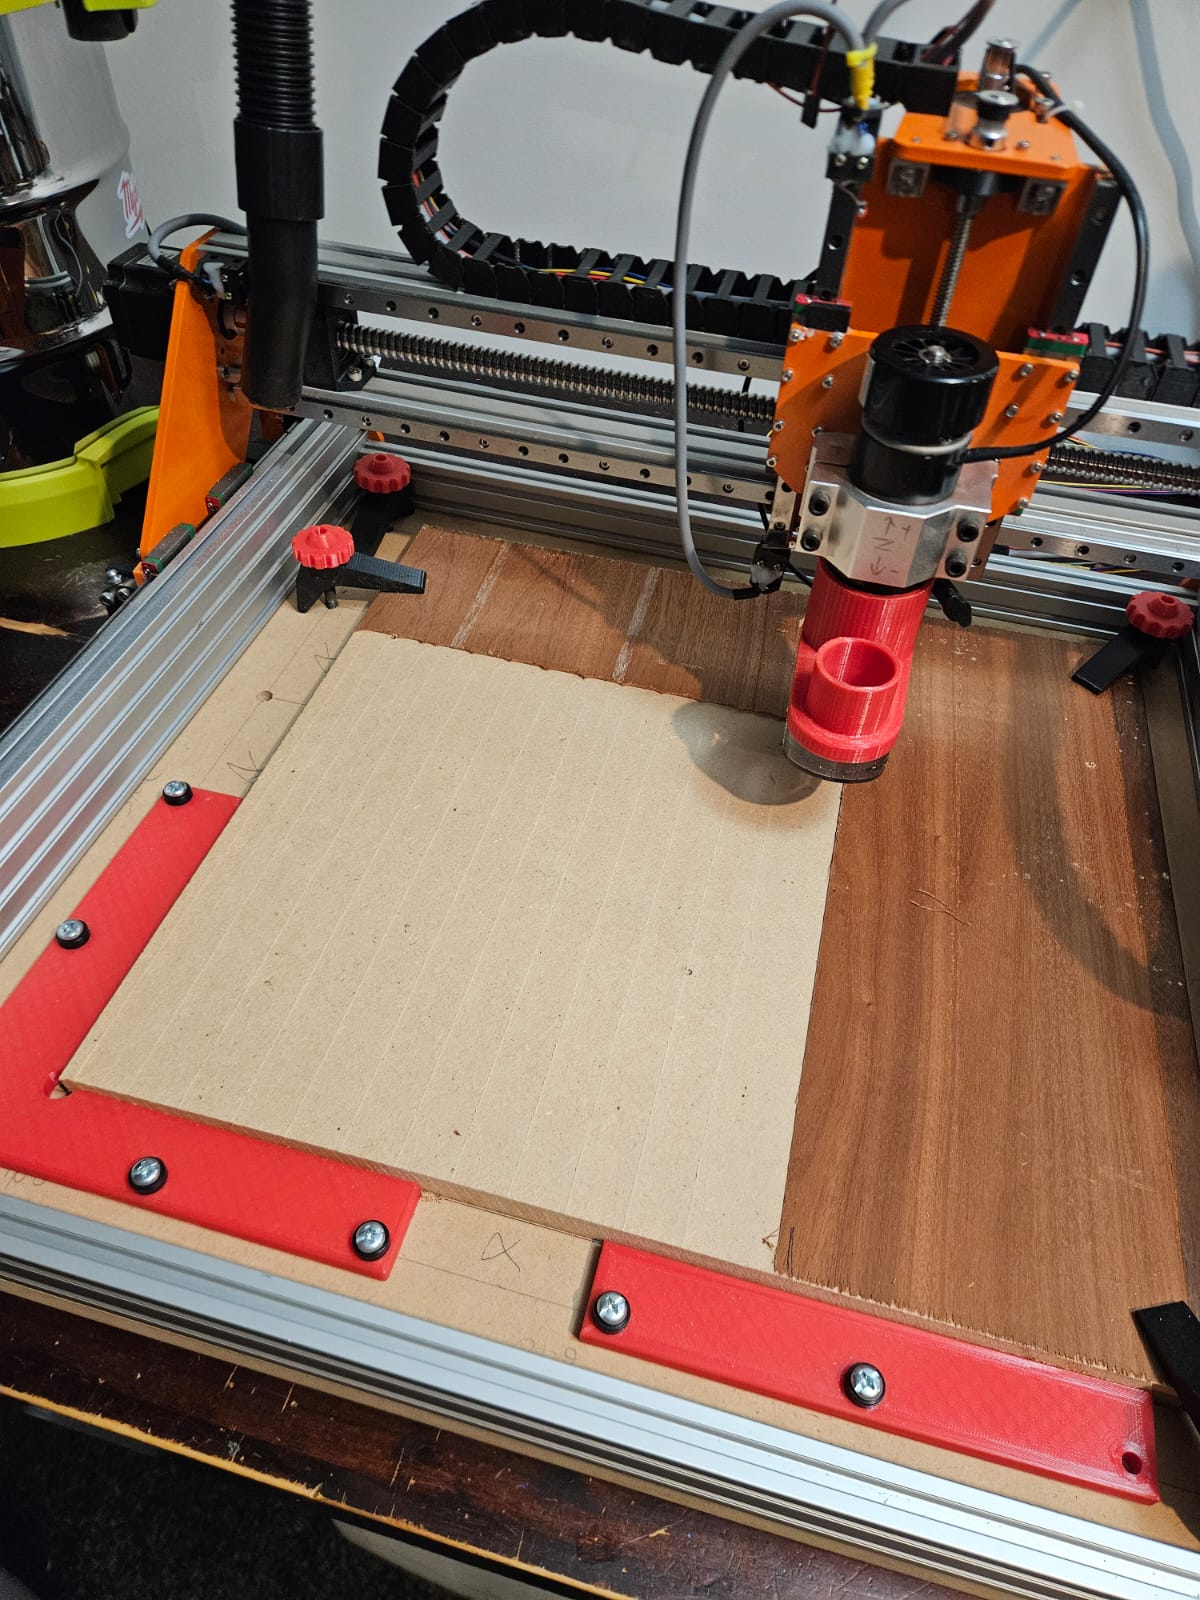
CNC Machine
- Ensure the CNC machine has the 25mm endmill inserted, mine doesnt have an auto changer.
- Home the machine to the front left, this is
$23=3(see all my settings here) - Zero the machine to the top of the clamped stock, then 1 step down on the
Zand zero again, this pushes the blade one step into the stock - Measure on the stock the expected travel, from the steps below is 320mm squared
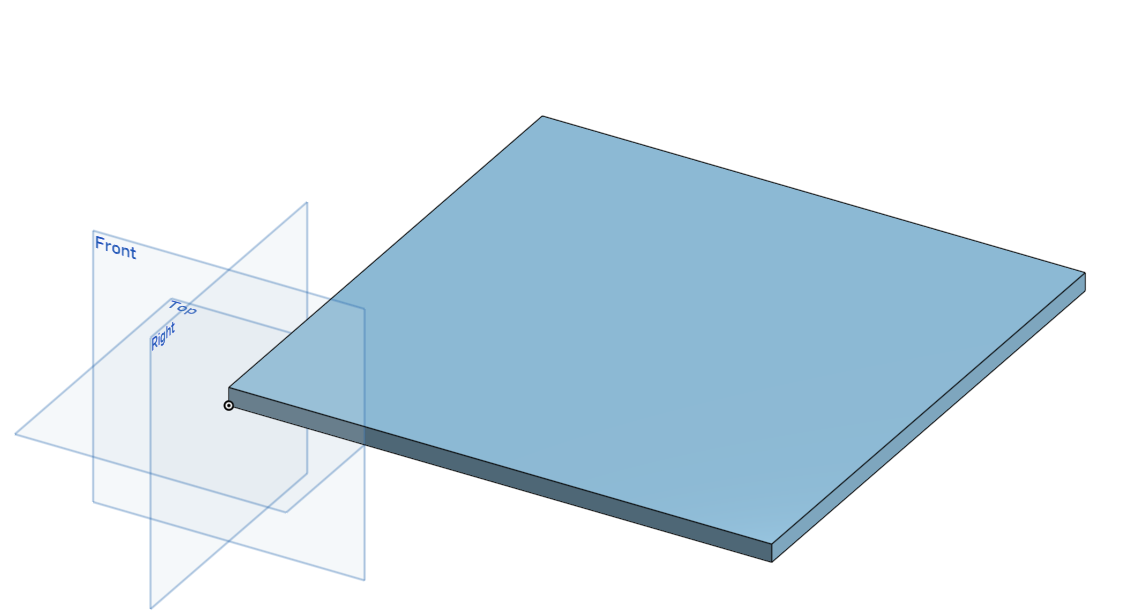
Onshape
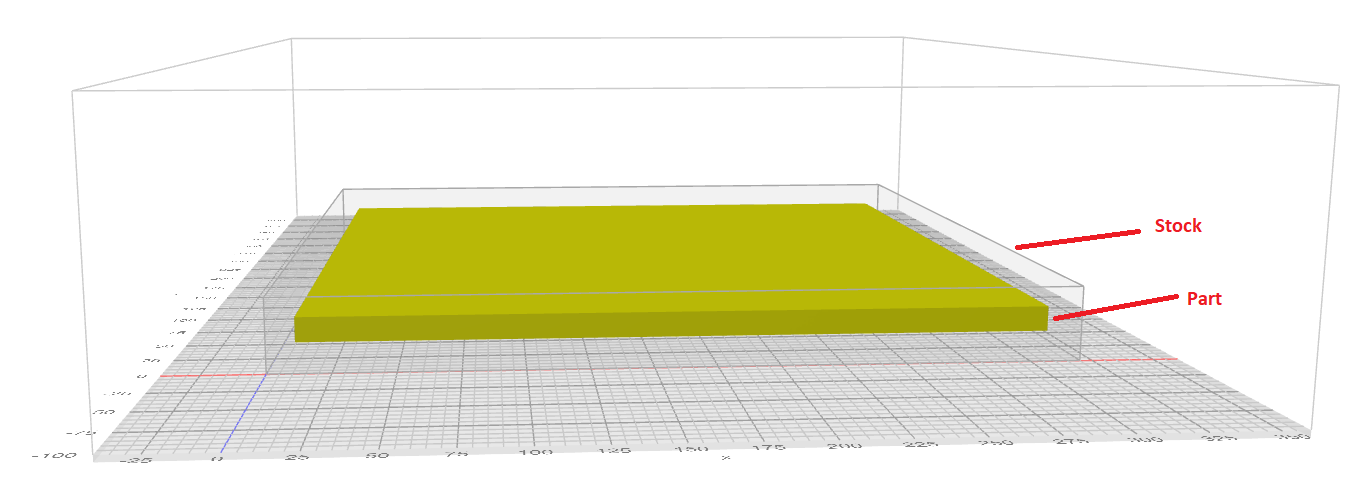
- Create and export an object (eg: CNC Flat Surface) in Onshape, normally width=300mm, depth=300mm and height=5mm. The height could just be 1mm, but its useful at 10 so I can see the part inside the stock in Kiri Moto.
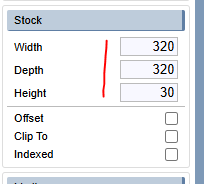
Kiri Moto
- Set the stock (on the left fly-out menu) to be larger than the Onshape object, I used width=320mm, depth=320mm and height=30mm
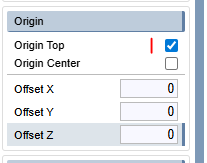
- Set the origin (on the left fly-out menu) to
Origin=Top
- Create the level operation (on the right fly-out menu) with values
Step over: 0.5,Feed rate: 500,Z offset: 0,Xy offset: 0and checkStock. I think this feed rate is probably a bit slow so will experiment.

- Top right
Files->Import-> navigate to the STL exported to your local disc from Onshape, you can now view the part inside the stock inside Kiri Moto
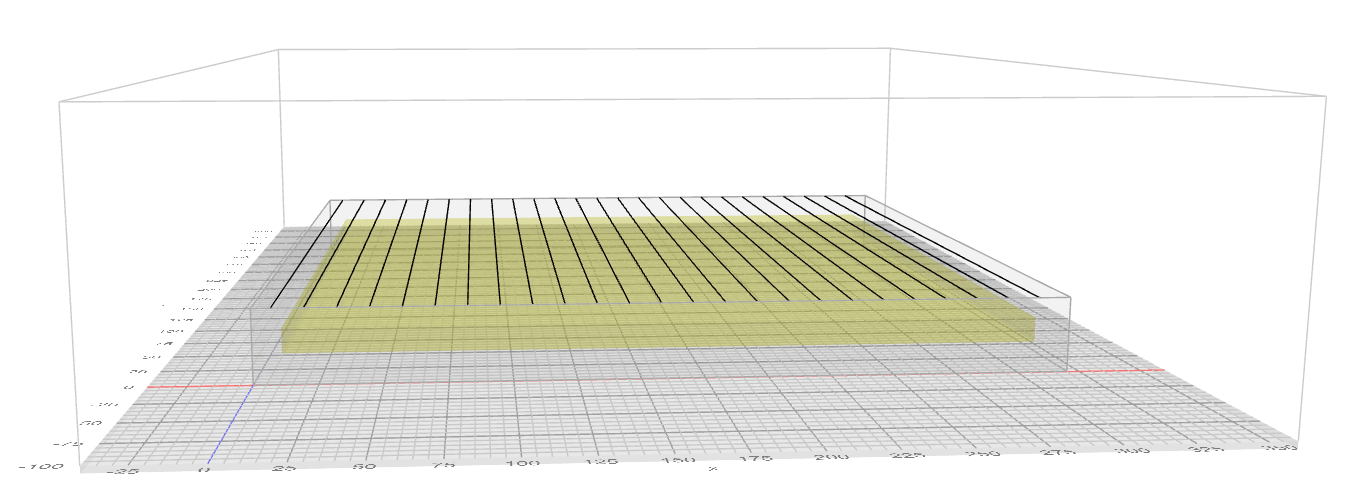
- Slice (Top left) and notice the top of the stock now has black lines, this is the tool path for the level operation
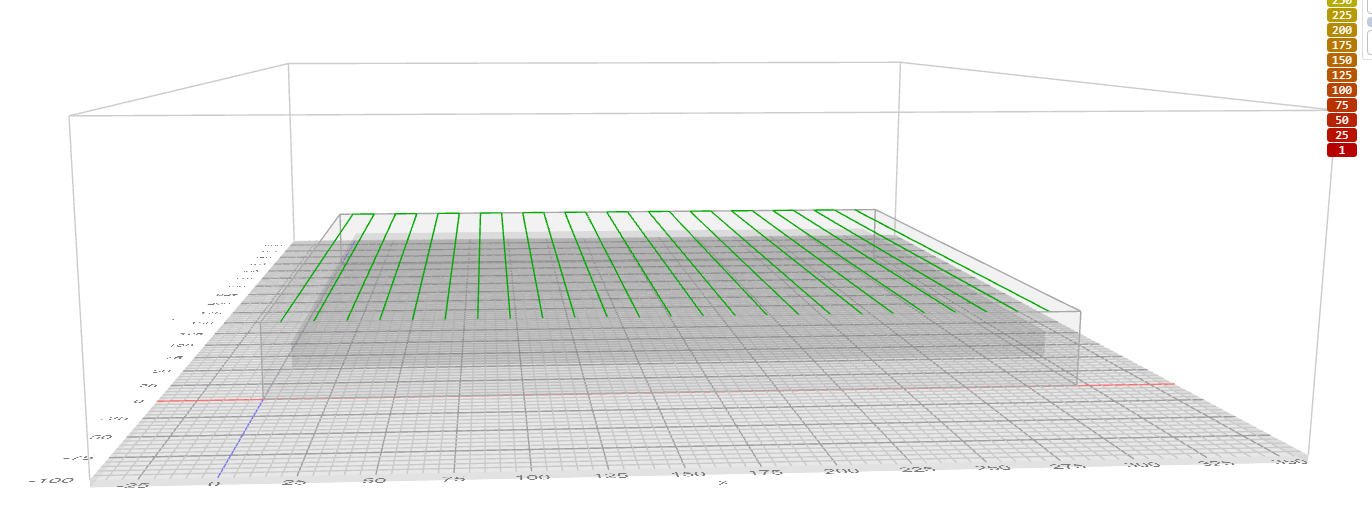
- Preview (Top left), the black lines now change colour, I think green means good but Im still learning
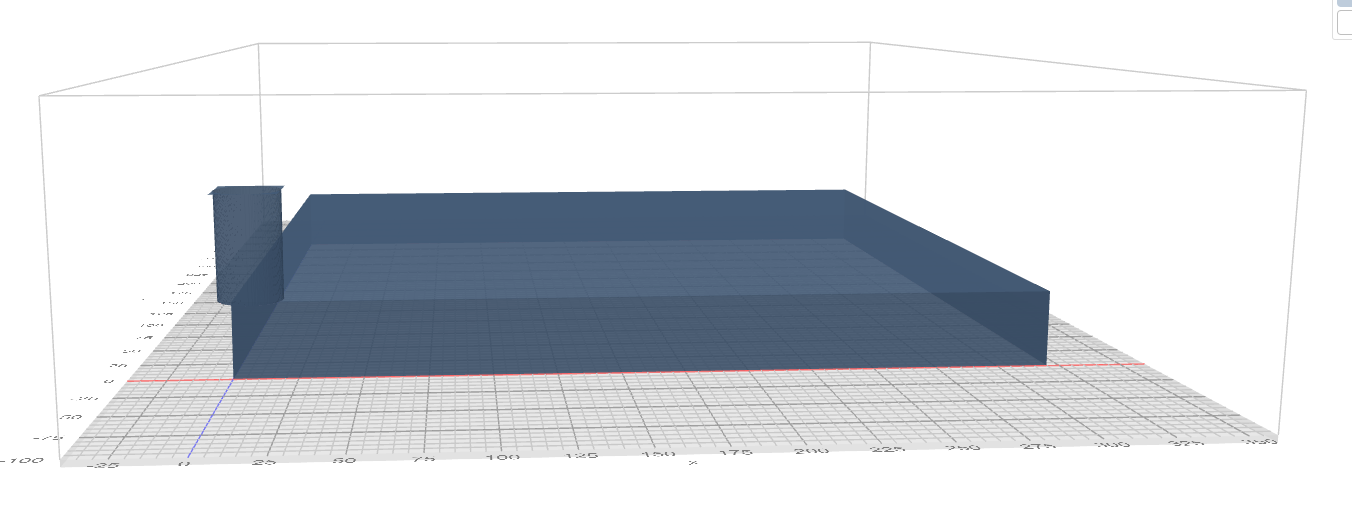
- Animate (Top left), this then builds the animation and shows what the tool will do, using the play button at the bottom will preview an animation of what the tool will do. This is super powerful and amazing for a free tool.
- Export, give it a sensible name and select gcode

UGS
- Import the file
- Start the spindle and extraction
- Hit play and hope for the best
For me this resulted in the top layer of the stock being removed ready for sanding 🙃